I used one from a Honda 250L Rally (probably the same as the standard 250L). It fits perfect and has a folding tip. $35 for a new one shipped off Revzilla.
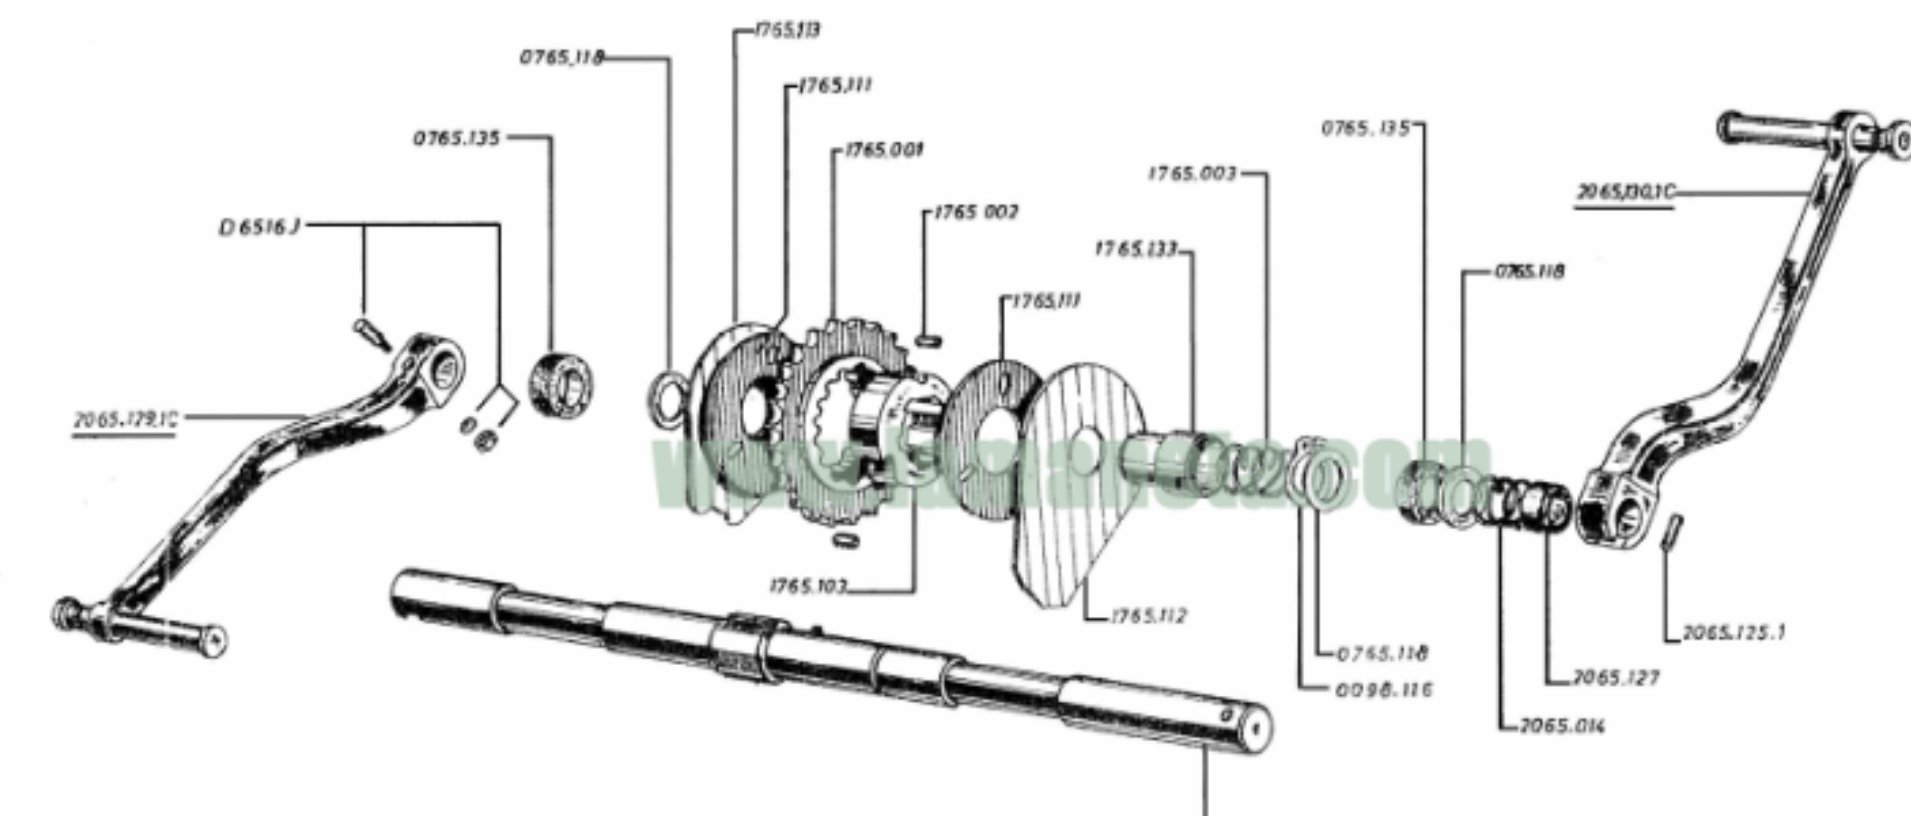
There should be a circlip on the shifter shaft on the left side of the motor. The circlip bears against the shifter shaft oil seal and prevents the shifter shaft from moving towards the right. It may not be immediately visible because it may be concealed inside a plastic roller/wheel that protects the shifter shaft from the chain rubbing.
You probably need to check out the shift mechanism that is behind the clutch and see what has gone wrong when you tried to get the shift shaft to slide out. You can loosen the clutch nut using a folded rag jammed in the primary drive gear mesh point
Probably a stupid question, but did you put the circlip back on the shift shaft?
I have the same exact issue. Which circlip are you referring to?
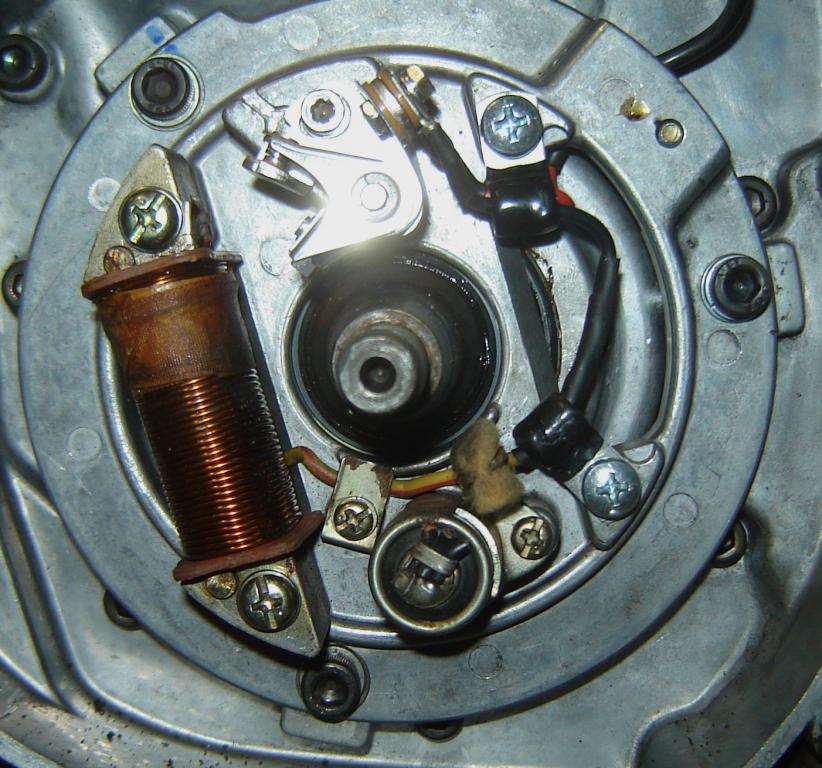
I got it figured out. I don't have a manual for the bike yet, but I cleaned the points up really nice, and then adjusted them to where they would at least open up. Then I adjusted them to .015" and re-gapped the spark plug to .022" and it has a nice healthy blue spark to it now. It seems to run really good now, so I'll be teaching my wife how to ride a motorcycle again.....
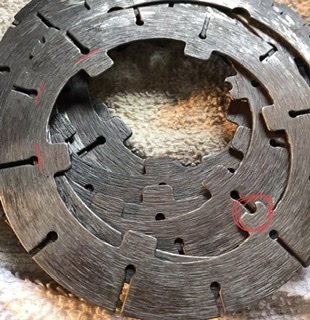
Anybody know the correct order of alignment of the cutches steel plates?
There is a slot cut into only one tab on the inside. Not sure what the tab’s slot is for.
thanks.
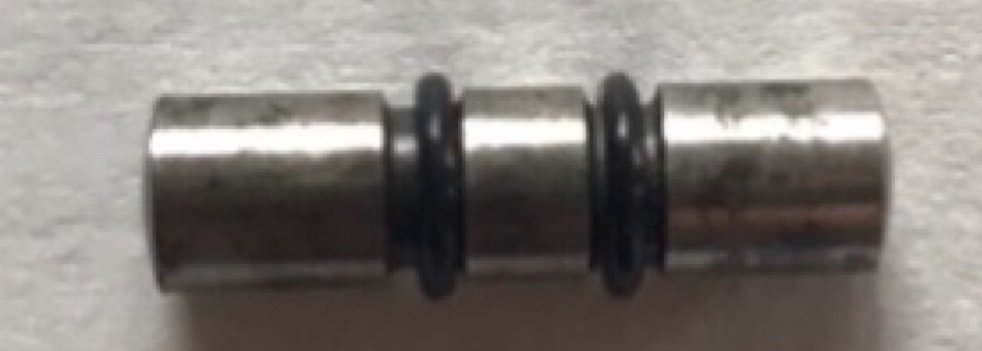
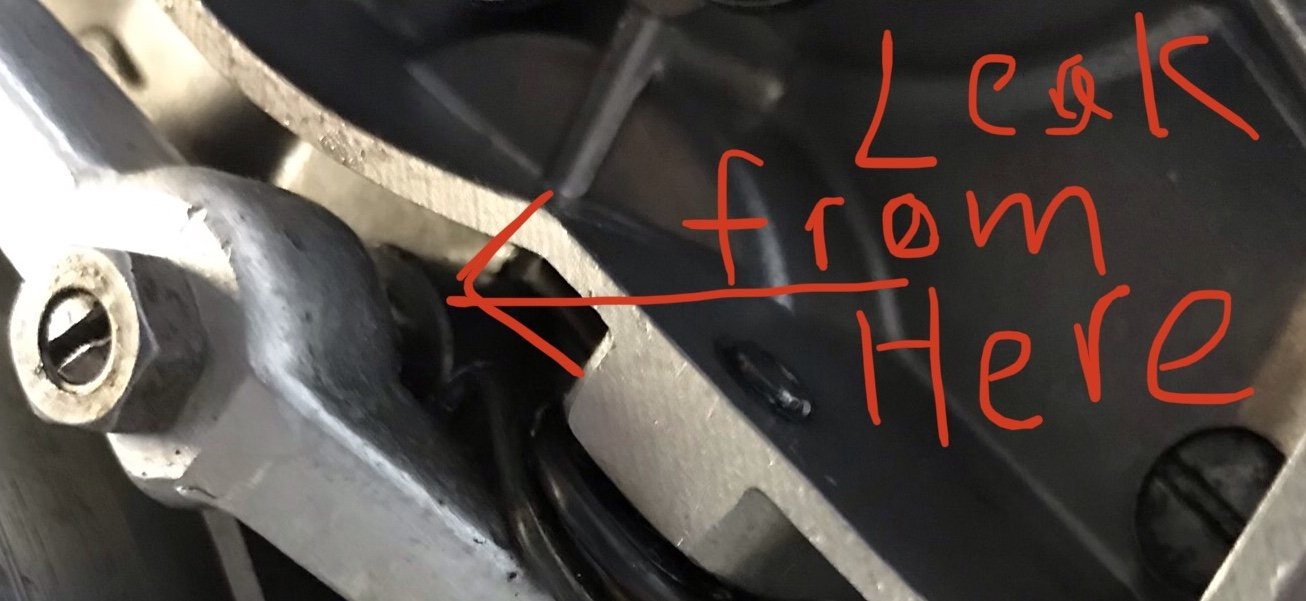
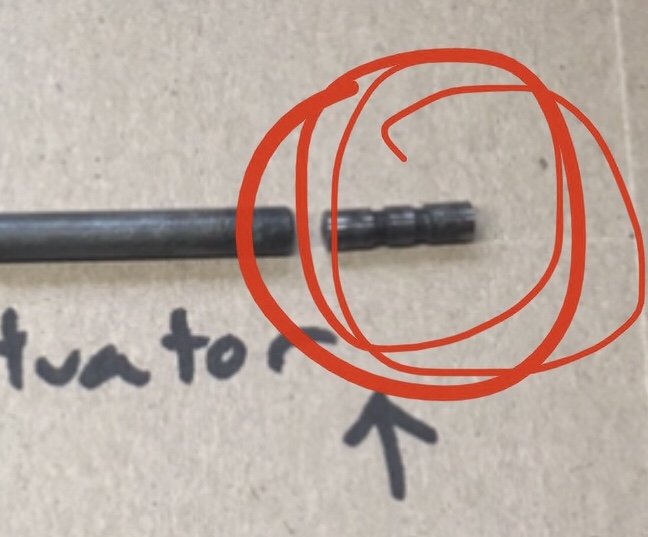
Hi fellows. Still haven’t got around to addressing this issue. We did hear from a Montesa fan in Spain that actually drilled out the passage’s diameter to allow the O-ringed mini shaft to fit in.
The passage is a hair above 5mm and not too sure if there is a way to ream the passage and maintain a smooth round surface so O-rings will glide as mini shaft moves laterally.
Our Cota49 leaks oil from the clutch actuating pin’s passage on the left side of engine. There seems to be 2 slots on one of the pins that looks as if there ought to be 2 Orings. Any idea on what we can do to stop the oil leak? Not sure if Orings are specified.
The cam that the points heel rubs against is normally kept lubricated by a felt wiper. I usually wet the wiper with light oil when I'm servicing the points. If you have good quality points and a working condenser, you probably only need to service the points at intervals of 100 operating hours or so.
I've got a few TYs that are still running the original points and condenser and which are still working perfectly. My other TYs that now have electronic ignitions still had the original points and condensers working well when I fitted the electronic ignitions 5 to 10 years ago including one TY175 engine that has been mechanically rebuilt 3 times (due to high run hours) since 1975 but still had the original points when the electronic ignitions went in.
I saw recently on a BMW shop’s web page a special oil to lube the wiper.
Adjust the points so they start opening at the correct piston travel before top dead centre with the flywheel turning in the running direction. It is the opening of the points that causes the spark.
The gap you end up with (when they are fully open) is not critical but once the points are set to provide the correct timing, is usually between 0.3 mm and 0.4 mm.
The position of the piston/flywheel when the points reach fully open is irrelevant.
TY backing plates are not adjustable.
Hi FeetUpFun.
When timing my TY250, my dial indicator is too large and won’t function due to bikes’s frame with tank off.
I am thinking I’ll need to remove the head and make a gizmo-bracket to mount dial indicator (as in bike’s shop manual)
Any ideas on this?
Or do you know of a smaller dial indicator that will work without removing the head?
Using a Buzz Box to identify points to open at XXmm BTDC, Is it necessary to disconnect the black wire on top of points, and then connect one of the Buzz Box leads at this point?
Keep us posted. Could be pilot jet issues. Mine starts runs ok. As I ride it at near full throttle the engine skips out. I think it is a main jet prob.
As much as I know the basic principle is that the bike is supposed to be ridden like a bicycle.The assembly in your picture when assembled properly (mine is a sealed unit that doesn't come apart) should allow the pedals to be locked in place while the engine runs.
the pedals have a locking device that lets both pedals fold around so they are not 180 degrees apart.
Hope that makes sense, I'm not sure if I understand that myself.
Thank you. All of that makes sense. We are hopefully done with the engine and plan on putting it on frame soon. Our fingers are crossed.

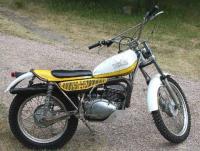


Replacement folding shift lever- Moose racing?
in Yamaha
Posted
were you referring to fit on a TY250A?
thank you.