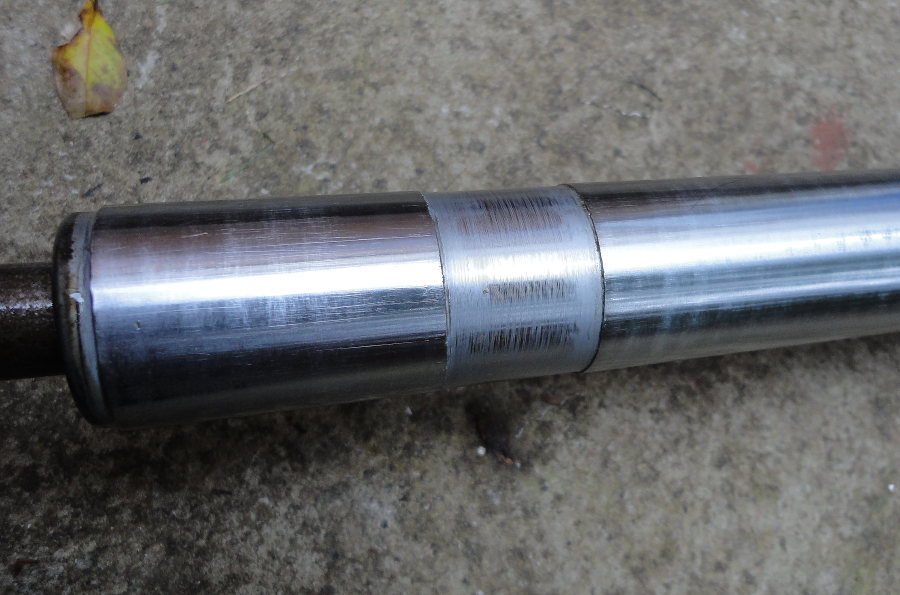
From Jim....no bushes on Fork Stanchion, recess supposed to be there!
Bushes are fitted inside the leg!
From Jim...
If you look down the fork leg, you should see the bushes about 1-2" down from where the seal sits, if they are not there then you should see a recess about 1" long where they should sit. You can't buy them to my knowledge, you have to send them off to someone like Philpot's to have them done.
Most common air leak problems are, bottom allen bolt not having a copper washer (this would force oil out of the bottom) O-ring around the Schrader valve body not sealing properly Schrader valve not sealing properly O-ring around the fork cap top not sealing properly
I always put a smear of silicone around the O-rings even if they are new.
Remember, there is only a very small amount of air in the forks, it is not like a tyre that can expand and take more air. If you are not using a proper fork pump, when you take the inflator tube off, the tiny 'hiss' can mean up to 10 psi lost.
You can try pumping up the leg then immersing it in water and looking for air bubbles, even one bubble is not good enough.
I had mine apart for rechroming a couple of years ago. I don't remember, but can't categorically state, having to remove and refit an external bush. The recess shown in your photo doesn't look deep enough for a bush.
Not 100% sure it does take a bush. Gay thin one if it does, recess only 1mm. Rough edges on recess not doing seals much good though when I insert the slider. Thanks for all the input...would be nice to know one way or another.
i emailed him on the 26th last month and still wiating for a reply and jims usualy really fast with his replys
The forks are a Suzuki item, so try Crooks Suzuki
Thanks but phoned Crooks Suzuki, no luck!
Part not listed in their parts list or mine.
Bushes were missing when I got the bike and losing air due to fork seals getting damaged when inserting fork slider as seal is catching on edges where bush should be. At least that what I think it is as all other seals on the forks have been replaced.
Gday John, these early Suzuki CDI's are all similar in operation. Connecting the wires as per colour coding should produce a result. You can check your stator coils (they are the most likely to fail in the entire system anyway). I have no actual specs, even for my PE's. Using rule of thumb you should see around a couple of ohms between the R/W and B/R wires. The same or slightly less between R/W and B/W. You should see the sum of each previous test between B/W amd B/R. B/W should be zero to ground (no resistance to the stator plate or some good earth point on the motor. ) Test again with the B/Y disconnected -this is the kill switch - to check the entire system. The actual ignition coil should read around 2 ohms across the primary side to ground and around 5000 ohms across the secondary side (between the primary terminal and the plug cap). It shouldnt have a resistor plug cap, if it does remove this and fit a normal one, and recheck. Also, double check all connectors and check continuity of all your wires between each component. They can fail under the insulation and still look OK from the outside.
Hope this might help,
-Just found some specs for you from a PE owners manual -
R/W to B/W - "Several hundred Ohms", B/R to R/W - "several ten ohms".
Cheers,
Stork.
Thanks for that ,gives me something to work on!
Looks like normal plug caps on coils in fact I'd never heard of a resistor plug cap!
Had to google it to find out what you were talking about LOL!
Will let you know how I get on. Thanks for your help.
Further to my ongoing problem...connected one of the correct CDI units (31900-38020) to the wrong wires from magneto (deliberately!), held on to both wires which go to ignition coil and kicked over engine and hey presto I got a shock so it appears CDI unit is working! Tried three different ignition coils but no spark though. They could be knackered or not working because CDI unit is not wired correctly,will try and get another ignition coil to try!
This however does not solve my wiring problems though!
Stator plate appears to be original with 4 wires from it (which match the 3 from the CDI unit) ignoring the red/yellow one which is for lights and is working!
The three B/W,B/R and R/W when connected with corresponding wires on CDI unit.....nothing!
When connected wrongly R/W ( stator plate) to B/W (CDI)....B/R ( stator plate) to B/R (CDI) this leaves B/W ( stator plate) with R/W (CDI) both unconnected, I am then getting power through CDI unit for some reason!
Could there be a fault in the primary coils that is causing the problem?
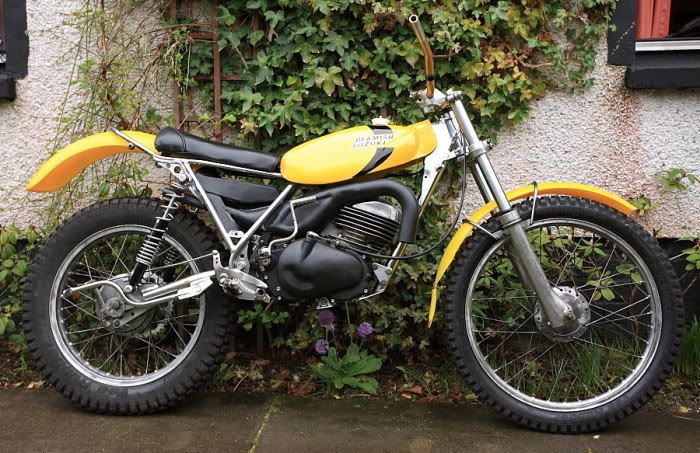
Any Black Engine Beamish owners out there that can help,it's driving me nuts!
Picked up an old Suzuki Beamish RL250 1979, Black Engine Model and am in process of rebuilding but am having probs with ignition!
Electrics not my strong point!
Old CDI unit on bike has no 32900 (can't read rest) but I assume it's -30511 and it aint working. Appears to be a Suzuki RM250 unit with brackets bent to get it to fit on frame!
According to book mine should be 31900-38020 but I've tried three with their own coils and no spark, so looks like the correct units will not work, got them off ebay as working and I hoped that at least one of them might be working but there is a chance they could all be kaput of course!
However I also aquired another old 32900-30511 with a different coil and this does produce a good spark. However the connection to magneto is the same as one from CDI unit (three pin,two male 1 female) and so wont connect! The only way I can get it to work is by only using 2 of the male/female connections and leaving a male pin on each wire bare which are apparently not needed to get a spark. Not a major prob as I can change connection though.
Will bike run ok with RM250 unit or will timing be out?


Rl325 Fork Bushes.
in Suzuki/Beamish
Posted
195cc per leg for Black Engine Beamish air assisted forks.
236cc per leg for Silver Engine Beamish and RL250 Exacta.
According to Manuals.