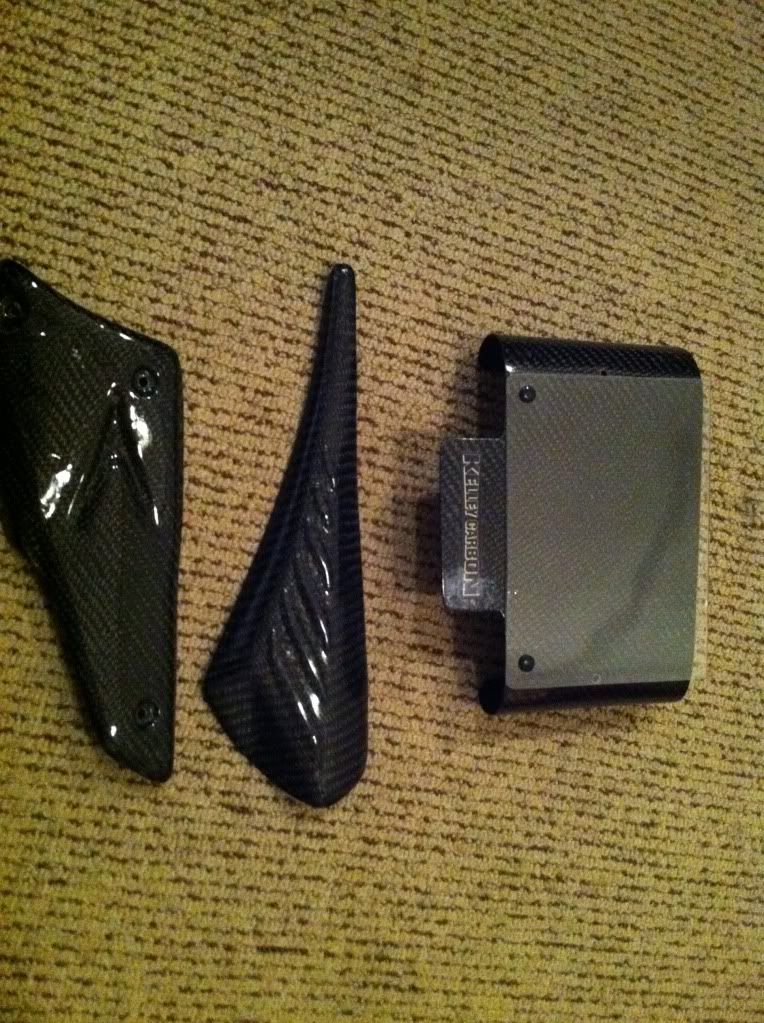
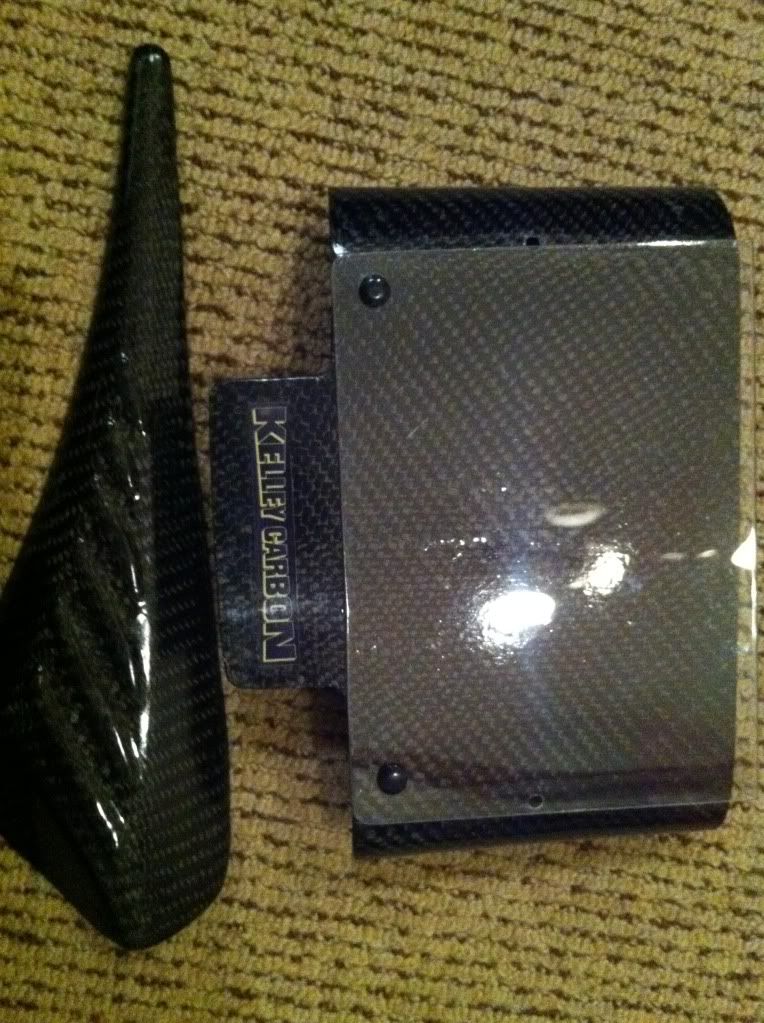
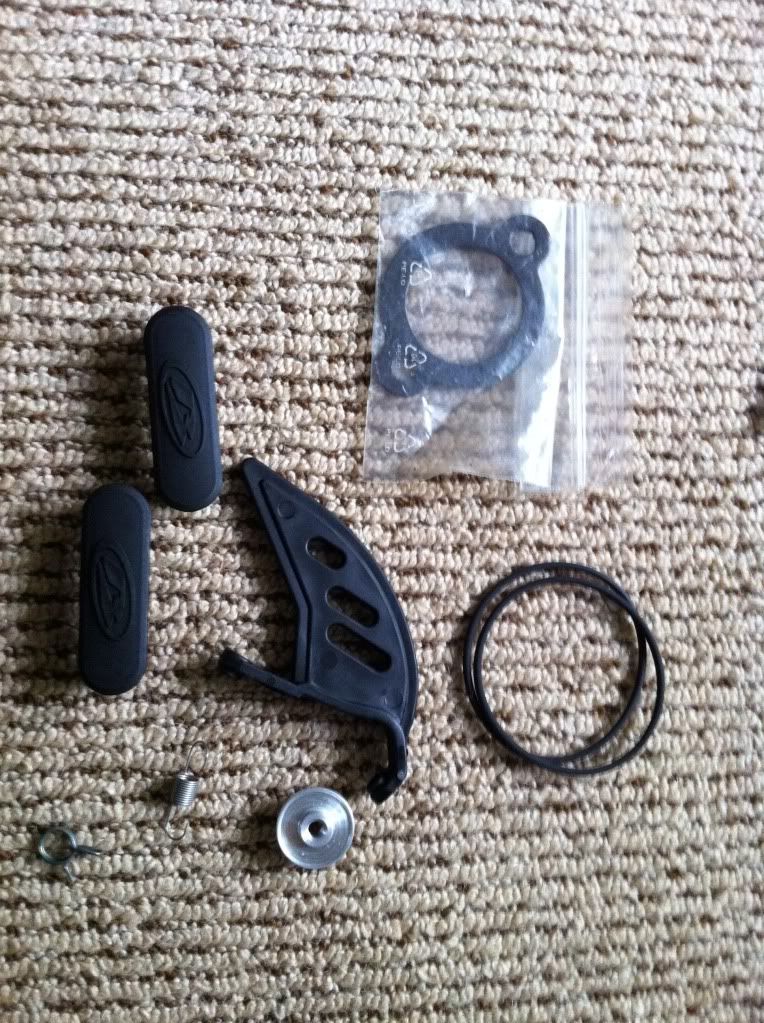
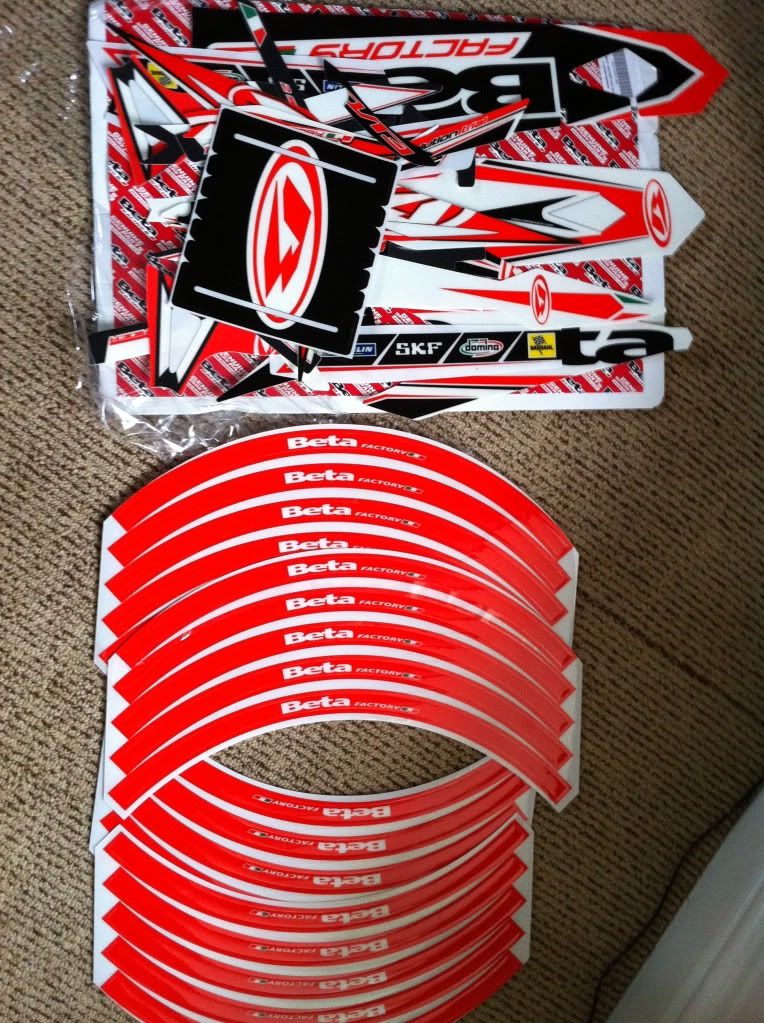
Update and one step closer to being complete. I got a few more goodies through the door the other day. I got my carbon fiber airbox cover, small exhaust cover, front number board, brake spring, disc protector, exhaust nut, full set of exhaust gaskets, swinging arm covers, fuel line clip, full beta factory stickers and also the wheel tape. Im not sure on the red rim tape now as i think i might go for the white stuff, what does everyone else think.
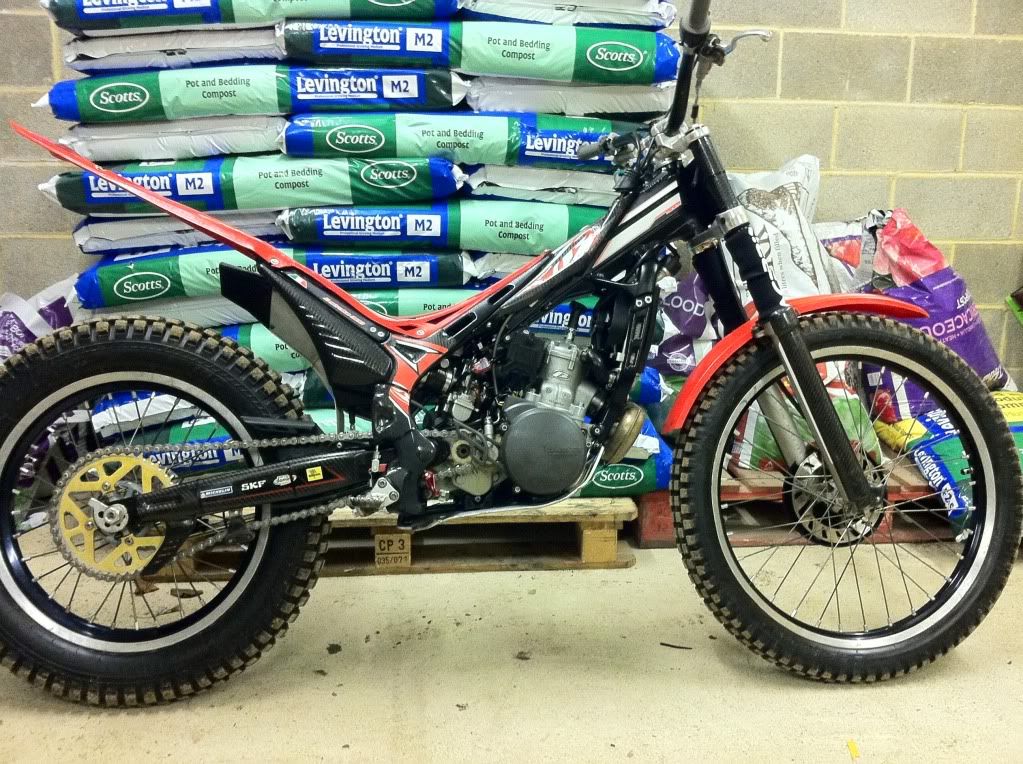
I fitted a few of the stickers on the bike frame and carbon bits and still have loads of the mud guards ones left over. They are not getting fitted to the mud guards that are on the bike as i have some future plans for different mudguards so they will be going on there I also put the new coolant in and its first tank of fuel, second kick and it started so i was well chuffed at this point to know that my hard work had worked. I ran the bike for a while for the new gaskets to seal and let the engine warm up ready for the oil change. There is a couple of little jobs to do before my first trial on this bike on Sunday. But its just about there and im well chuffed how its looking/ sounding so far. One of the problems i have is the kick start is rubbing on the carbon panel when im kicking it over, is there a way to fix this problem. Any help will be great other wise it will wear the carbon out.
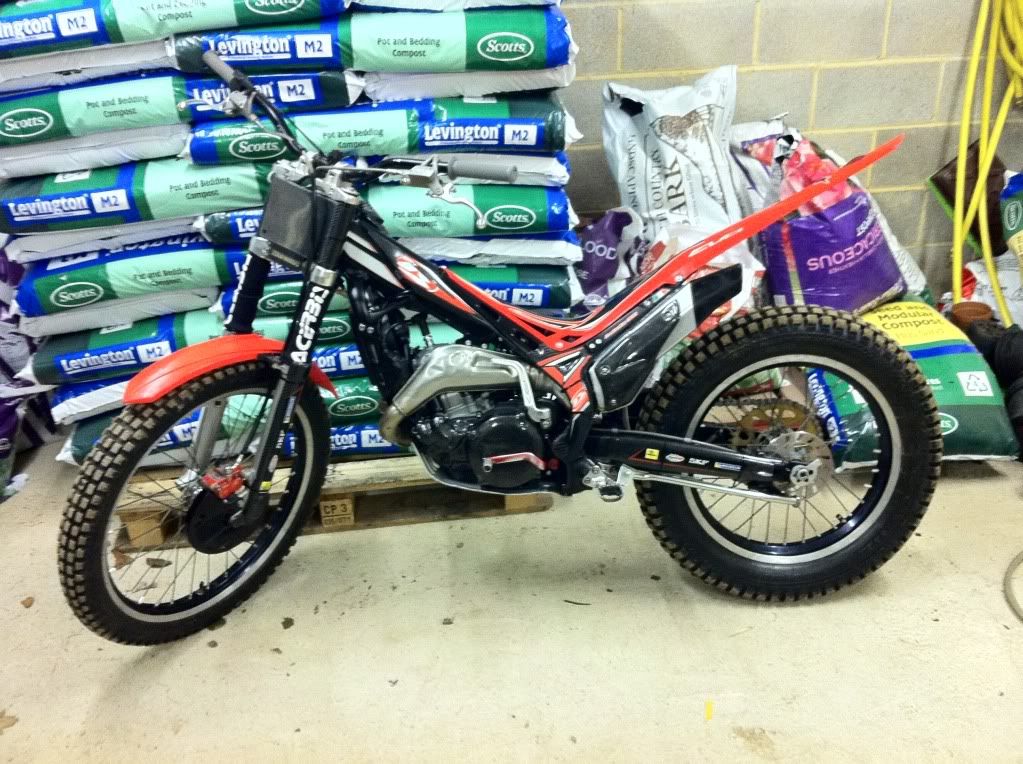
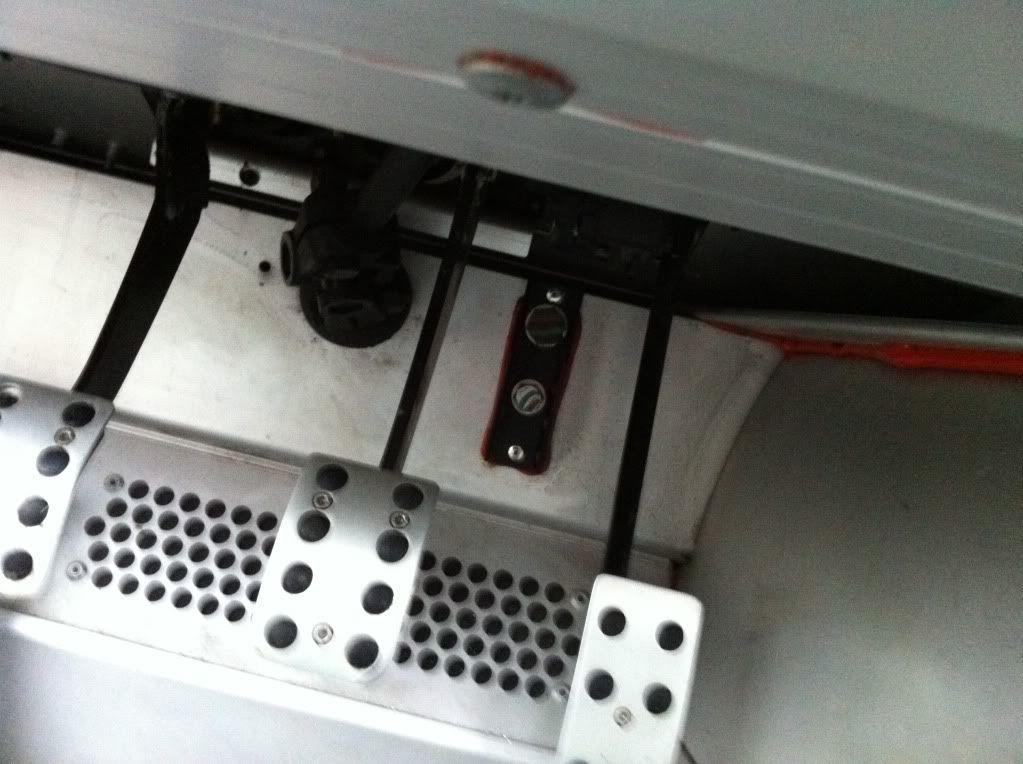
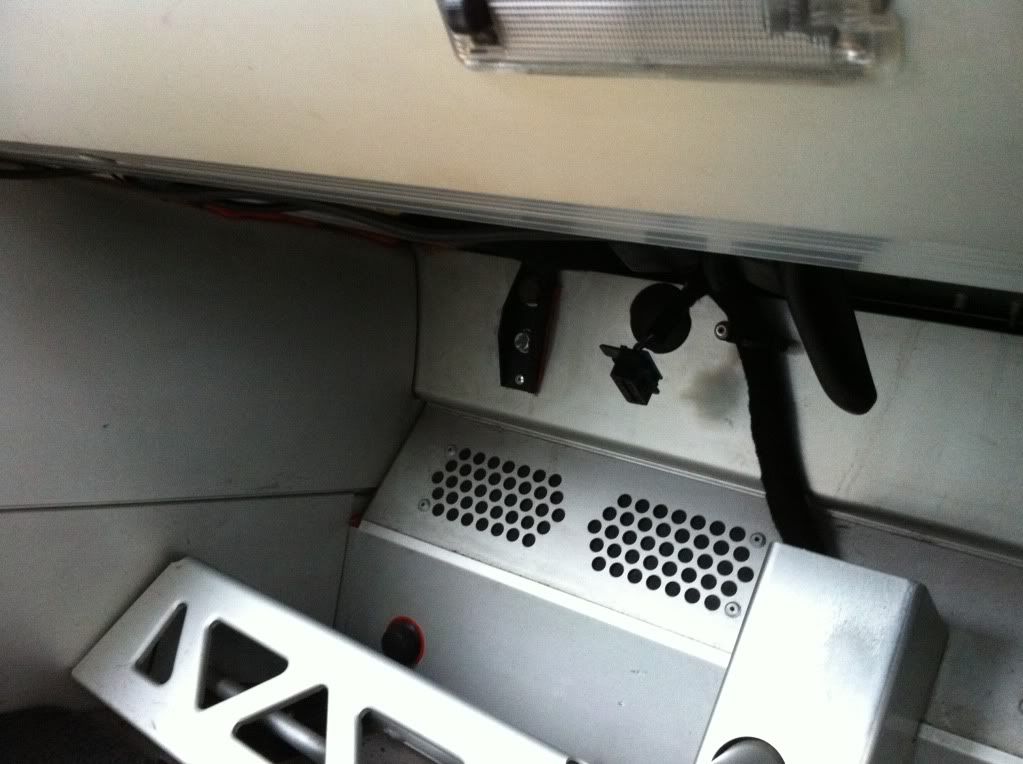
A couple of pictures of what it looks like now but il get some better ones when its outside. I still haven't fitted the front carbon shock/sticker yet but will get to this tomorrow.
I also have bought some white Samco silicone coolant hoses but they take 3 weeks to make so havnt got them atm but i will stick a picture up when i receive them.
Right i haven't done very much to this project lately as im busy with my other project. But i had some spare time the other week to get my rack raiser fitted. It was a dead easy job to do just need a strong back and be able to put up with being up side down for a while.
The old ones next to the new ones.
Now all fitted up on both sides and also unbolted all the steering joints to release the couple mill of play.
I was having problems with my battery dieing quick with the winter months and with the car not being used this time of year didn't help. So i bought a solar panel battery charger that plugs into the cigarette lighter and i tested the car today after it haven't been started for 3 weeks and it started first time so this bit of kit was well worth the
I got the parts back last week from the powder coaters.
Also received my items for extra protection of dirt and debris for the air-filter. The other item is a stronger version the the standard item as they tend to brake easy but all it does is stop crap going into your engine and suspension.
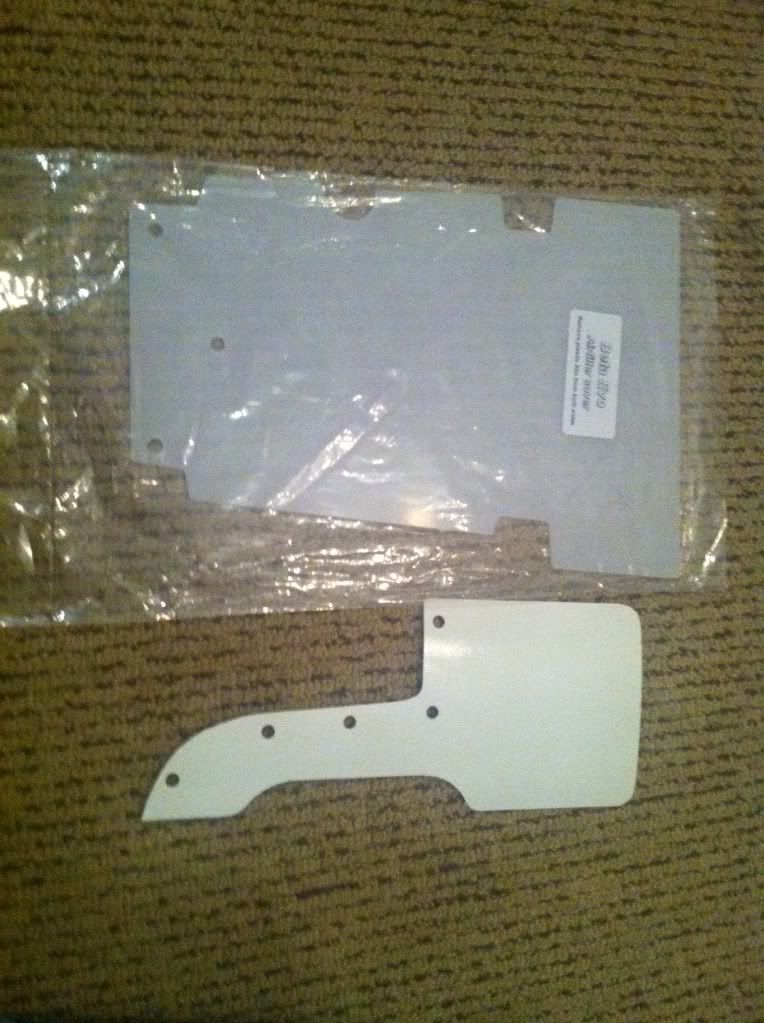
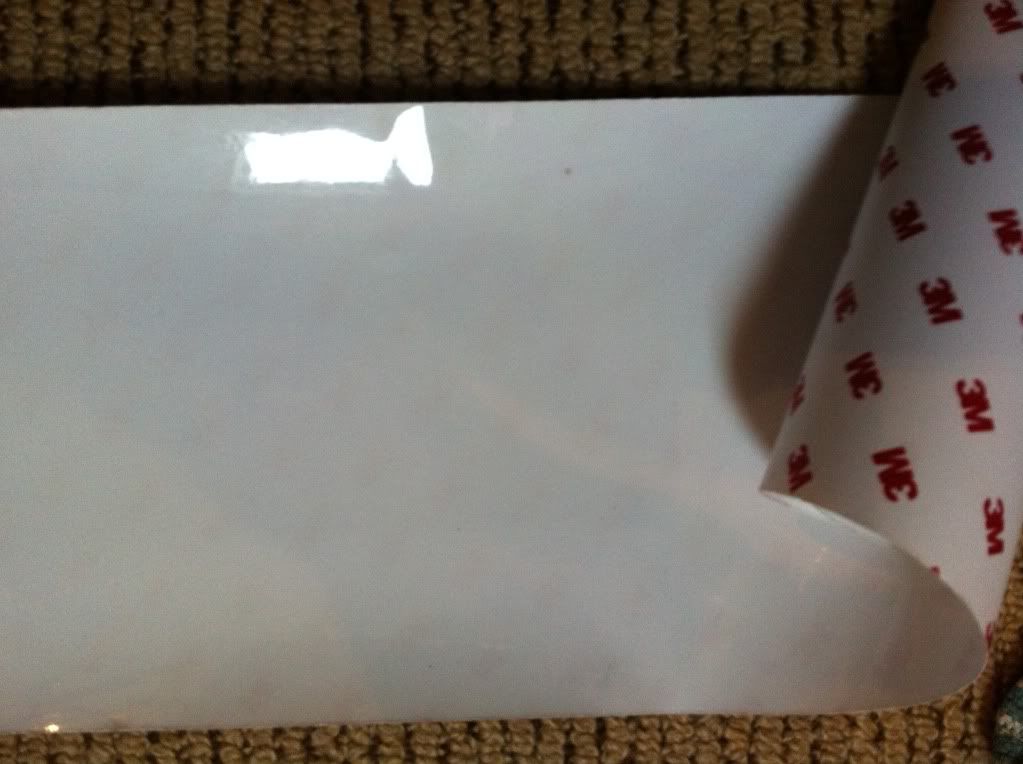
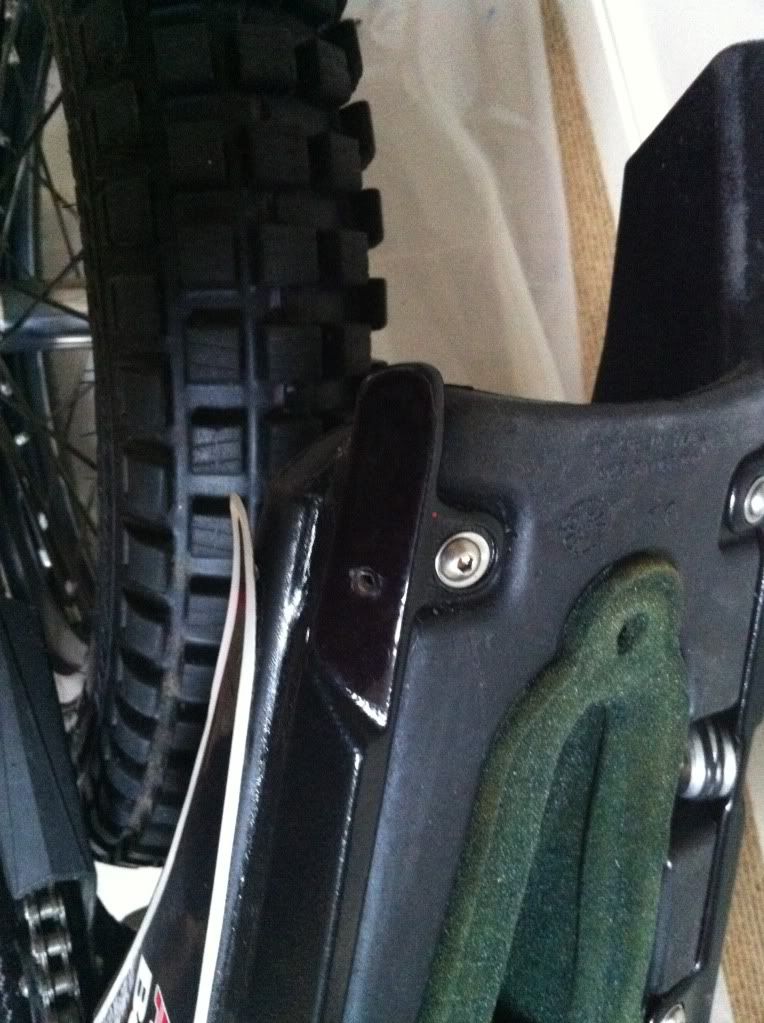
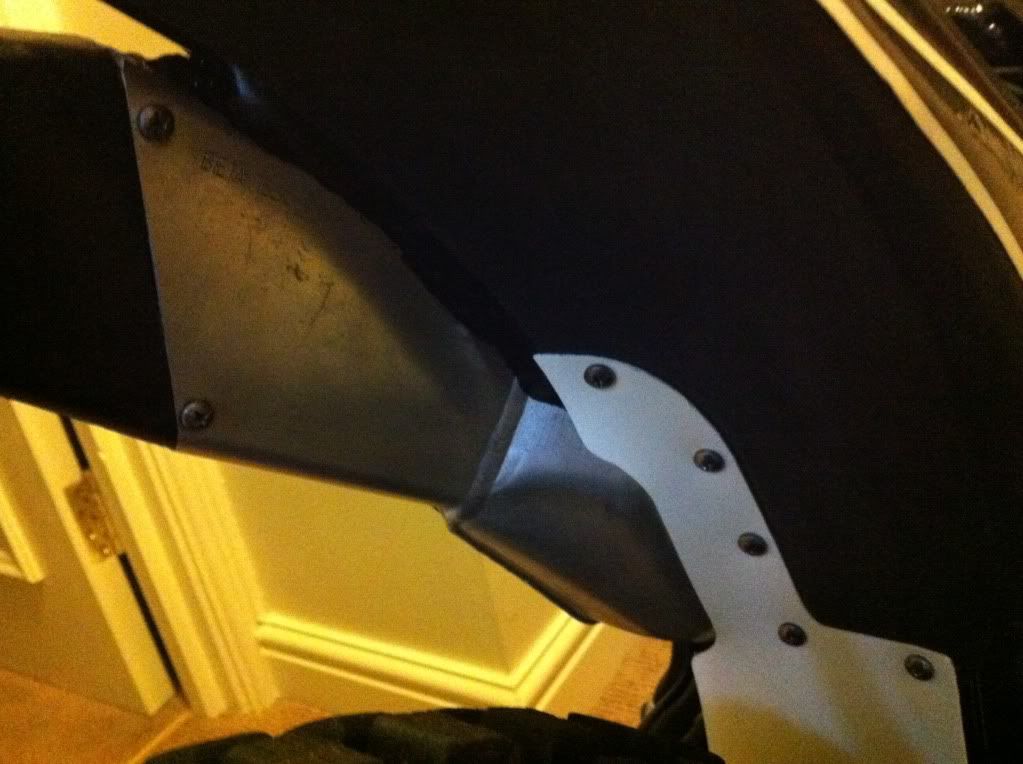
My paint shield protection came through the door the other day. Im going to be fitting this to every bit that could get in contact with moving parts rocks etc etc also going to cover all the carbon fiber in it for a extra bit of protection as it all helps keeping it lucking new.
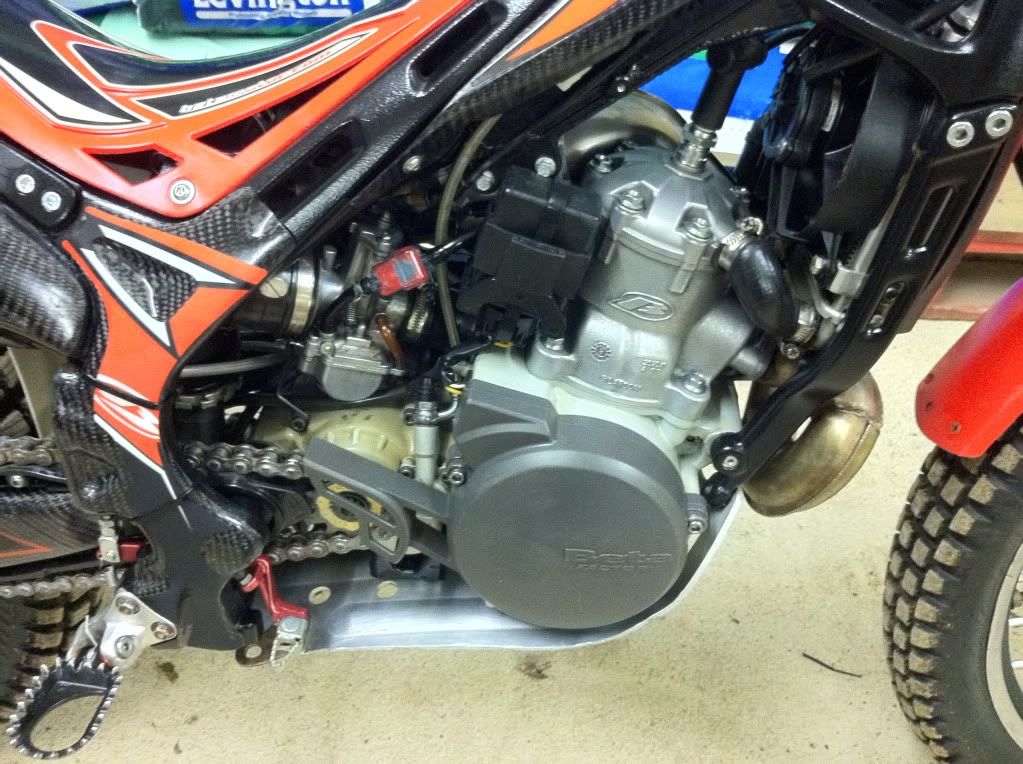
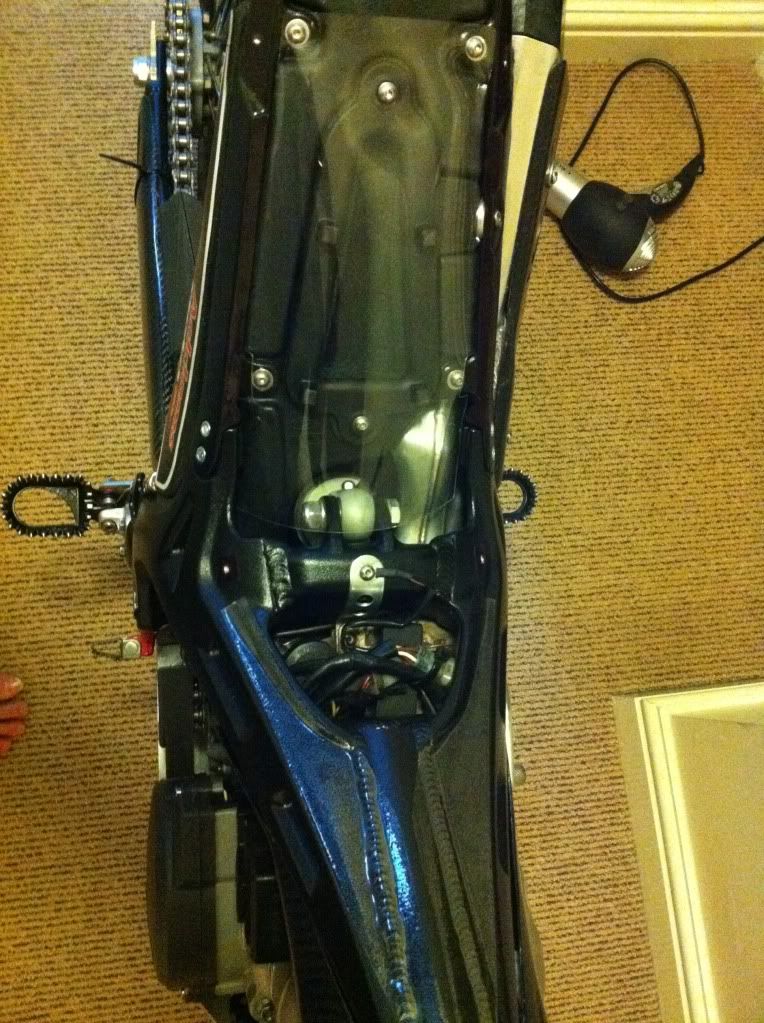
Next job was to tiger seal the sub frame bits and exhaust to the air-filter box. Then once it all dried a couple days later i fitted the air filter and shock flap and also stuck the paint shield down where the mud guard could potentially rub.
I also gave underneath the engine a really good clean up as there was a bit of built up crap there from the last few years. After it was all clean i set about trying to fit this dam sump guard and rubber bit which i still cant get on fully. I have now successfully fitted 3 bolts with the help of my mate but for the life of us both we cant get the last one in so i think im going to take the bike to my other mates house to see if he can come up with any ideas and if not its off to the bike shop.
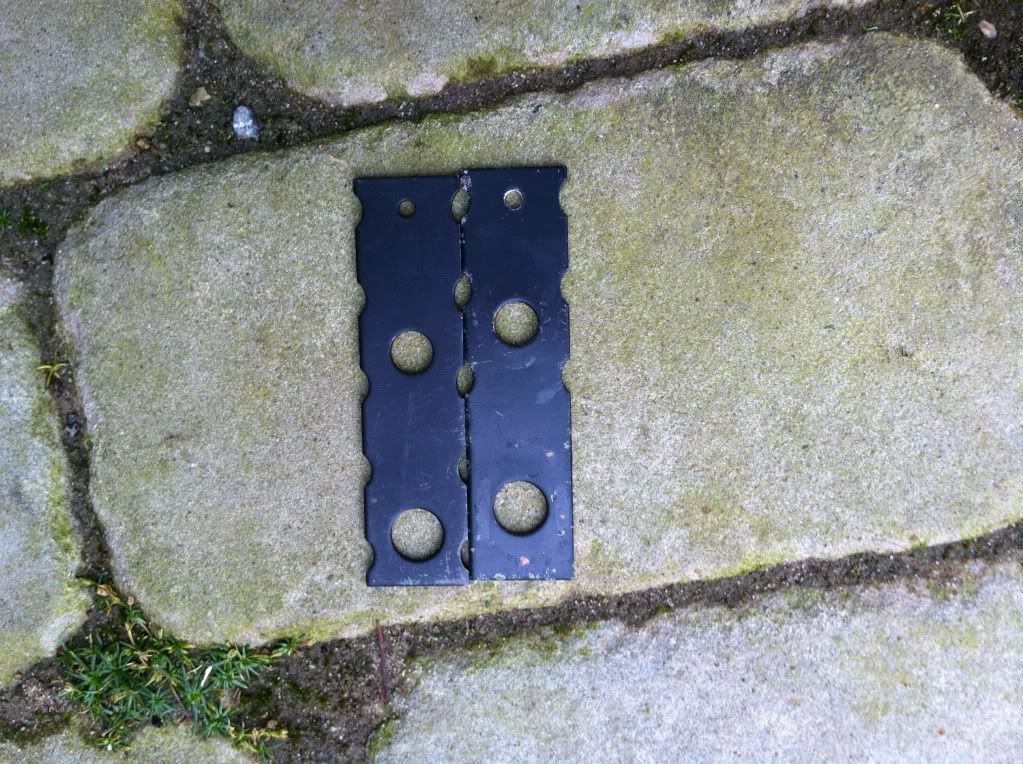
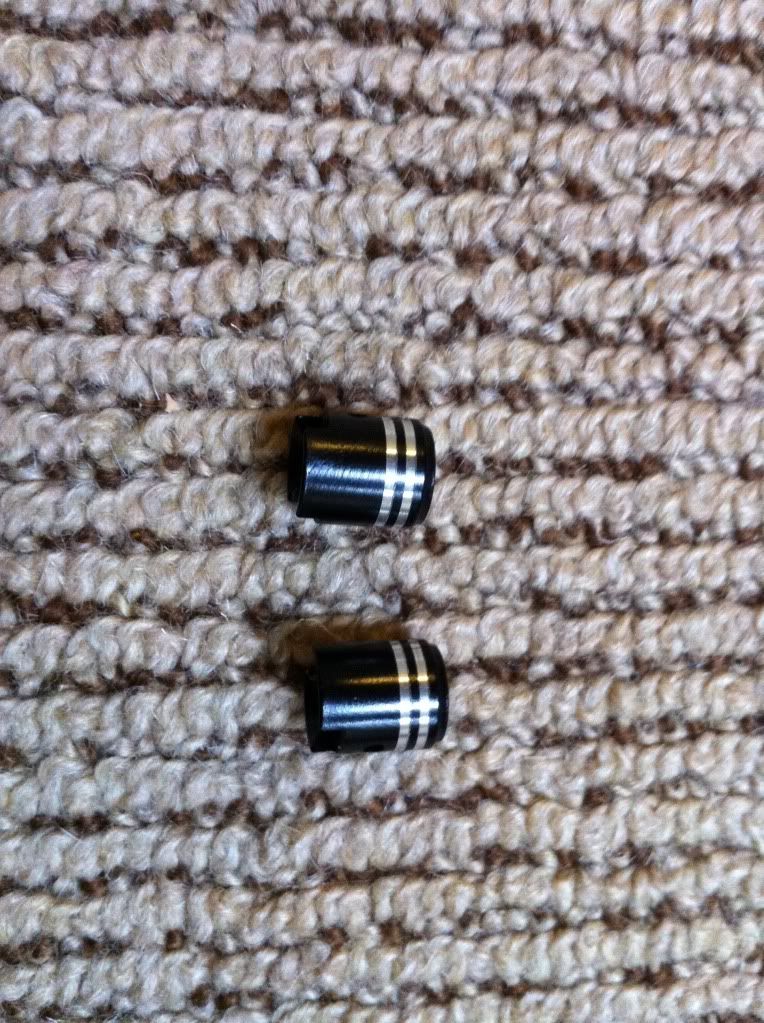
And now the main part of the project is my new dust caps lol
Cheers for all the comments guys and the ratchet strap don't sound a bad idea so i think i will give this a shot. You would of thought tho that by now they would of sorted the problem, or just made the thread inside the trial bike a little bit longer so a longer bolt could be used.
had this problem with a 4rt once. in the end it took three of us with big iron bars and lots of bending to get it to line up straight again. Hope you get it sorted easy enough pall.
Cheers for that mate as its been doing my head in to find out what i need to do. Looks like i need to get the hammer out and have a real good go at it. Once its done im never taking it off every again
are you sure the sump isnt just badly bent because thats what normally happens and they are tricky to get back on
It looks to be ok and don't seem bent at all, when it did come off it came off with no problems. If i take the rubber out the sump guard is still a struggle to get all the holes lines up and then bolted, it can only just be done but with the rubber bit in its a no go. I must be doing something wrong as it shouldn't be this hard. I had a car jack underneath it last night and it still didn't go flush, it was just lifting the bike up. Also me and my mate tried to push the sump guard up towards the engine while the girlfriend tried to screw the bolt in but still couldn't get it close enough. Im thinking that because i have a different frame the sump don't fit any more. Any more ideas anyone.
Instead of opening a new thread il thought il post here. My front disc moves a little bit on my beta and I know this is normal but does the rear supposes to do it as well. My rear were loose so I tighten then up and don't move anyone more l, should I slacken the off a little bit.
I was wondering if anyone can help me please, if not the bike is going to be into a million pieces I cant seem to get the sump guard and sump guard rubber to go back on, it is starting to annoy me now. It wont line up on both sides then the bolts hole aren't straight, what am i doing wrong. Do i have to slacken off any of the other bolts that's holding the engine into the frame or does the 2011 frame have a different sump guard as for the life of me i cant seem to get it to go on.
Funny how we can't throw anything away isn't it. I keep finding similar bits of Montesa and Fantic these decades later.
The only reason for me keeping it is so i can get some bushes kits made up as im not spending the money again on the beta parts as its a bloody rip off.
Cheers mate, I have the real thing sitting outside that's why I've got a model of it, just a shame the model don't look nothing like it now lol
It will be intresting to know your overall costs on this project including the bike(and the wife's new carpet)..looking good so far.
I don't want to look lol. The way I think about it is that there are loads of betas out there I'm just trying to make mine look diffrent then everyone else's.
Do all the beta evos have silicone around the air box and exhaust. Is it needed as I'm just fitting my back now so not sure what to do. I know that it stops water getting in the filter but I have bought the plastic sheet that bolts over the filter like a cone to stop the crap.
I have been riding my mates evo 200 on a few trials until i bought the evo 250. I found the 200 to be perfect weight and power for just about evertying I was doing. The 250 I have now is with out a doubt more powerful bike and in still getting use to after riding the 200. He also has 2 125 gasgas which I find are under powder and light on the throttle. I don't think there is much weight diffrence in the 200, 250 but what ever you get you should get use to the bike as its only going to move as quick as what you let the clutch, throttle. I would say that both are cracking bikes.
I got my goodies today and I'm well chuffed with them. Its the real carbon fibre and not the abs plastic stuff, the items I have are Swinging arm, frame, shocks, exhaust, engine cover, petrol tank plastics . They are not 100% on yet but you get the picture. I will take some more pictures when they are on properly and the bikes outside.
Soon as I get a bit more cash I will be getting a few more items made of the stuff.
Update, The chain has been degreased and cleaned up and some fresh wax oil on it.
Took the carb off and gave it a good clean out with the carb spray. Also the last person who owned it had sprayed the bottom bit of the carb so I cleaned all the paint off and gave it a polish.
Gave the air filter a clean and then fresh oil on it along with stainless bolts in the air box
Dirty airfilter
Nice and clean now
I put some strong thick film on the areas where the handle bars touch when its turned on full lock as I'm worrying if I fall off and the steering swings to one side and chips the powdercoating.
Also received the rest of my dog bone /l link bushes.
A photo with the hole unit replaced with new bushes and the bag full full of old bushes
Dog bone fitted with swinging arm.
Wheel is back on now.
Just waiting on my parts from the powder coaters now and also I've got some goodies to pick up for it.
Some more goodies came the other day which was nuts,bolts, spring for pedal, bushes, bearings, cages for the l link and one side for the dog bone as i realised when fitting the parts for the dog bones that i hadnt order enough so ive had to order a whole new side now so that a load more money spent on the dam things.
My new fuel filter also came.
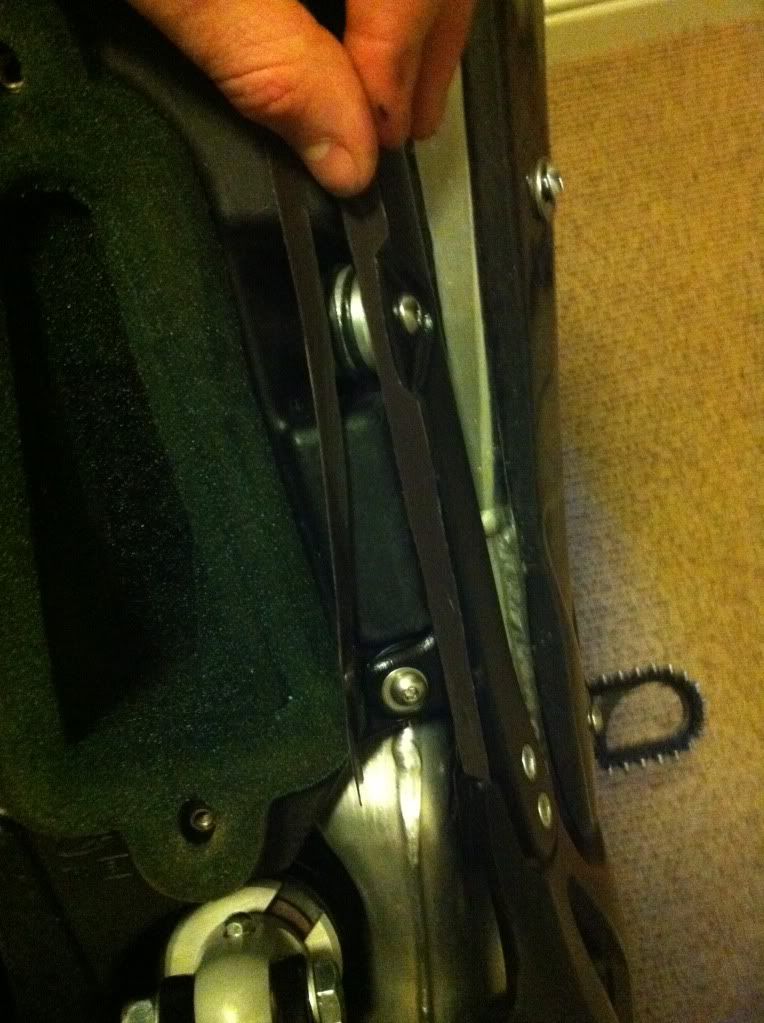
Also fitted the new chain guard to the swinging arm and also new slide in bushes that attach to the l link as mine broke away when i undid them.
Once i started to rebuild the bike back i realised that the engine mounts and the back subframe bits were not the same, as the new frame i have has 2 screw holes on it and my old one had one big hole.
So i emailed beta again and they said they had sent me the wrong frame as i have the new version so as another good will jesture they sent me new engine mounts, subframe, nuts and bolts which they didnt have to so another big thanks again there. The only problem for me is i have to get the new subframe powdercoated which is not the end of the world. Also received my shock socks to prevent crap getting in and the main reason i wanted them was for looks.
Picture with the frame half on
Time for the new head stock bearings to get fitted so my mate sorted this out for me as he had a press to take the old one off. New one back on with new grease.
Head stock bearings all in now and all tightend up along with the socks fitted.
To bleed the system just squeeze the hose and shake the bike a little. This will bring most of the air out. After the first short testride check the level again and fill it up.
You can put the new bearings in by using a bench vise and bushes with corresponding diameter. Or use the force of a screw and nut. Then you will need some bushes that fit, too.
Depending on your workshop equipment it will be best to bring the bearings to a dealer.
Thanks for the tip mate as my freind had a go with the cages and bearing with a vice and socket and it seem to have worked fine, only problem now is I havnt ordered enough stuff to do it all so I'm going have to order another batch.
Has anyone got a cheap set of trials boots they would like to sell in a size 9, just to keep me going until I buy a better set.
Ive got a few questions if anyone can help me with. When i come to put the new coolant in the bike how do i bleed the system? Question 2, how do i put the new bearings and cages in the dogbone/shock mount?


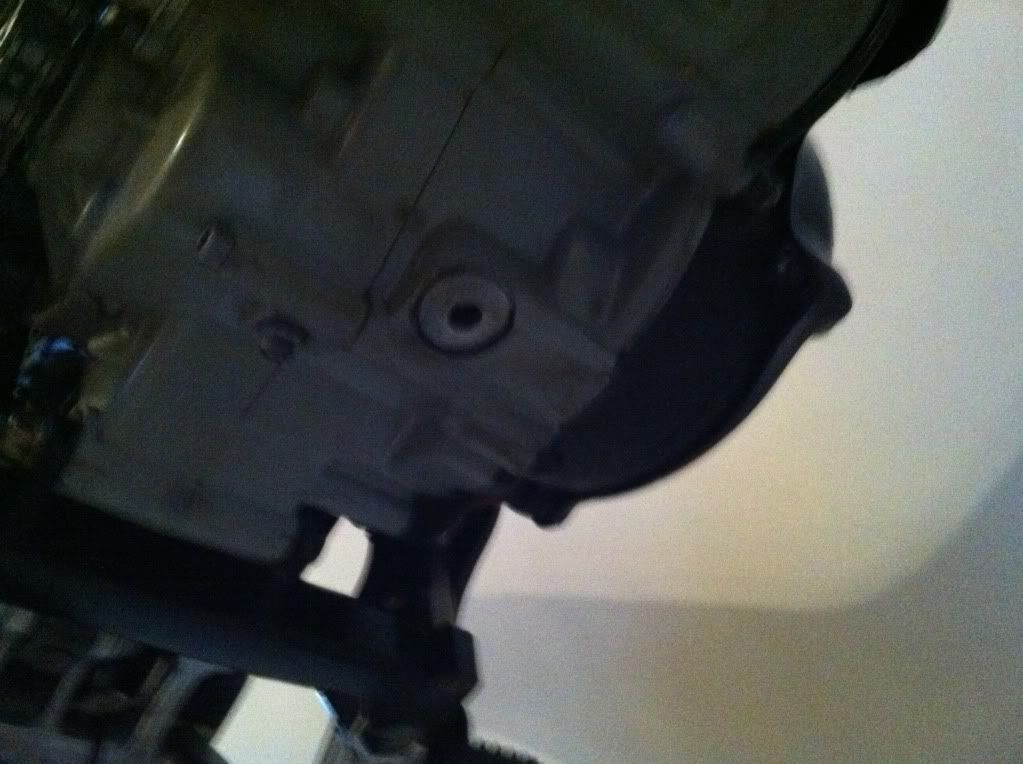


 I cant seem to get the sump guard and sump guard rubber to go back on, it is starting to annoy me now. It wont line up on both sides then the bolts hole aren't straight, what am i doing wrong. Do i have to slacken off any of the other bolts that's holding the engine into the frame or does the 2011 frame have a different sump guard as for the life of me i cant seem to get it to go on.


Are These Trial Or Motorcross Boots
in Trials Gear
Posted
Ive recently required a pair of boots but not sure if there trial or motocross.