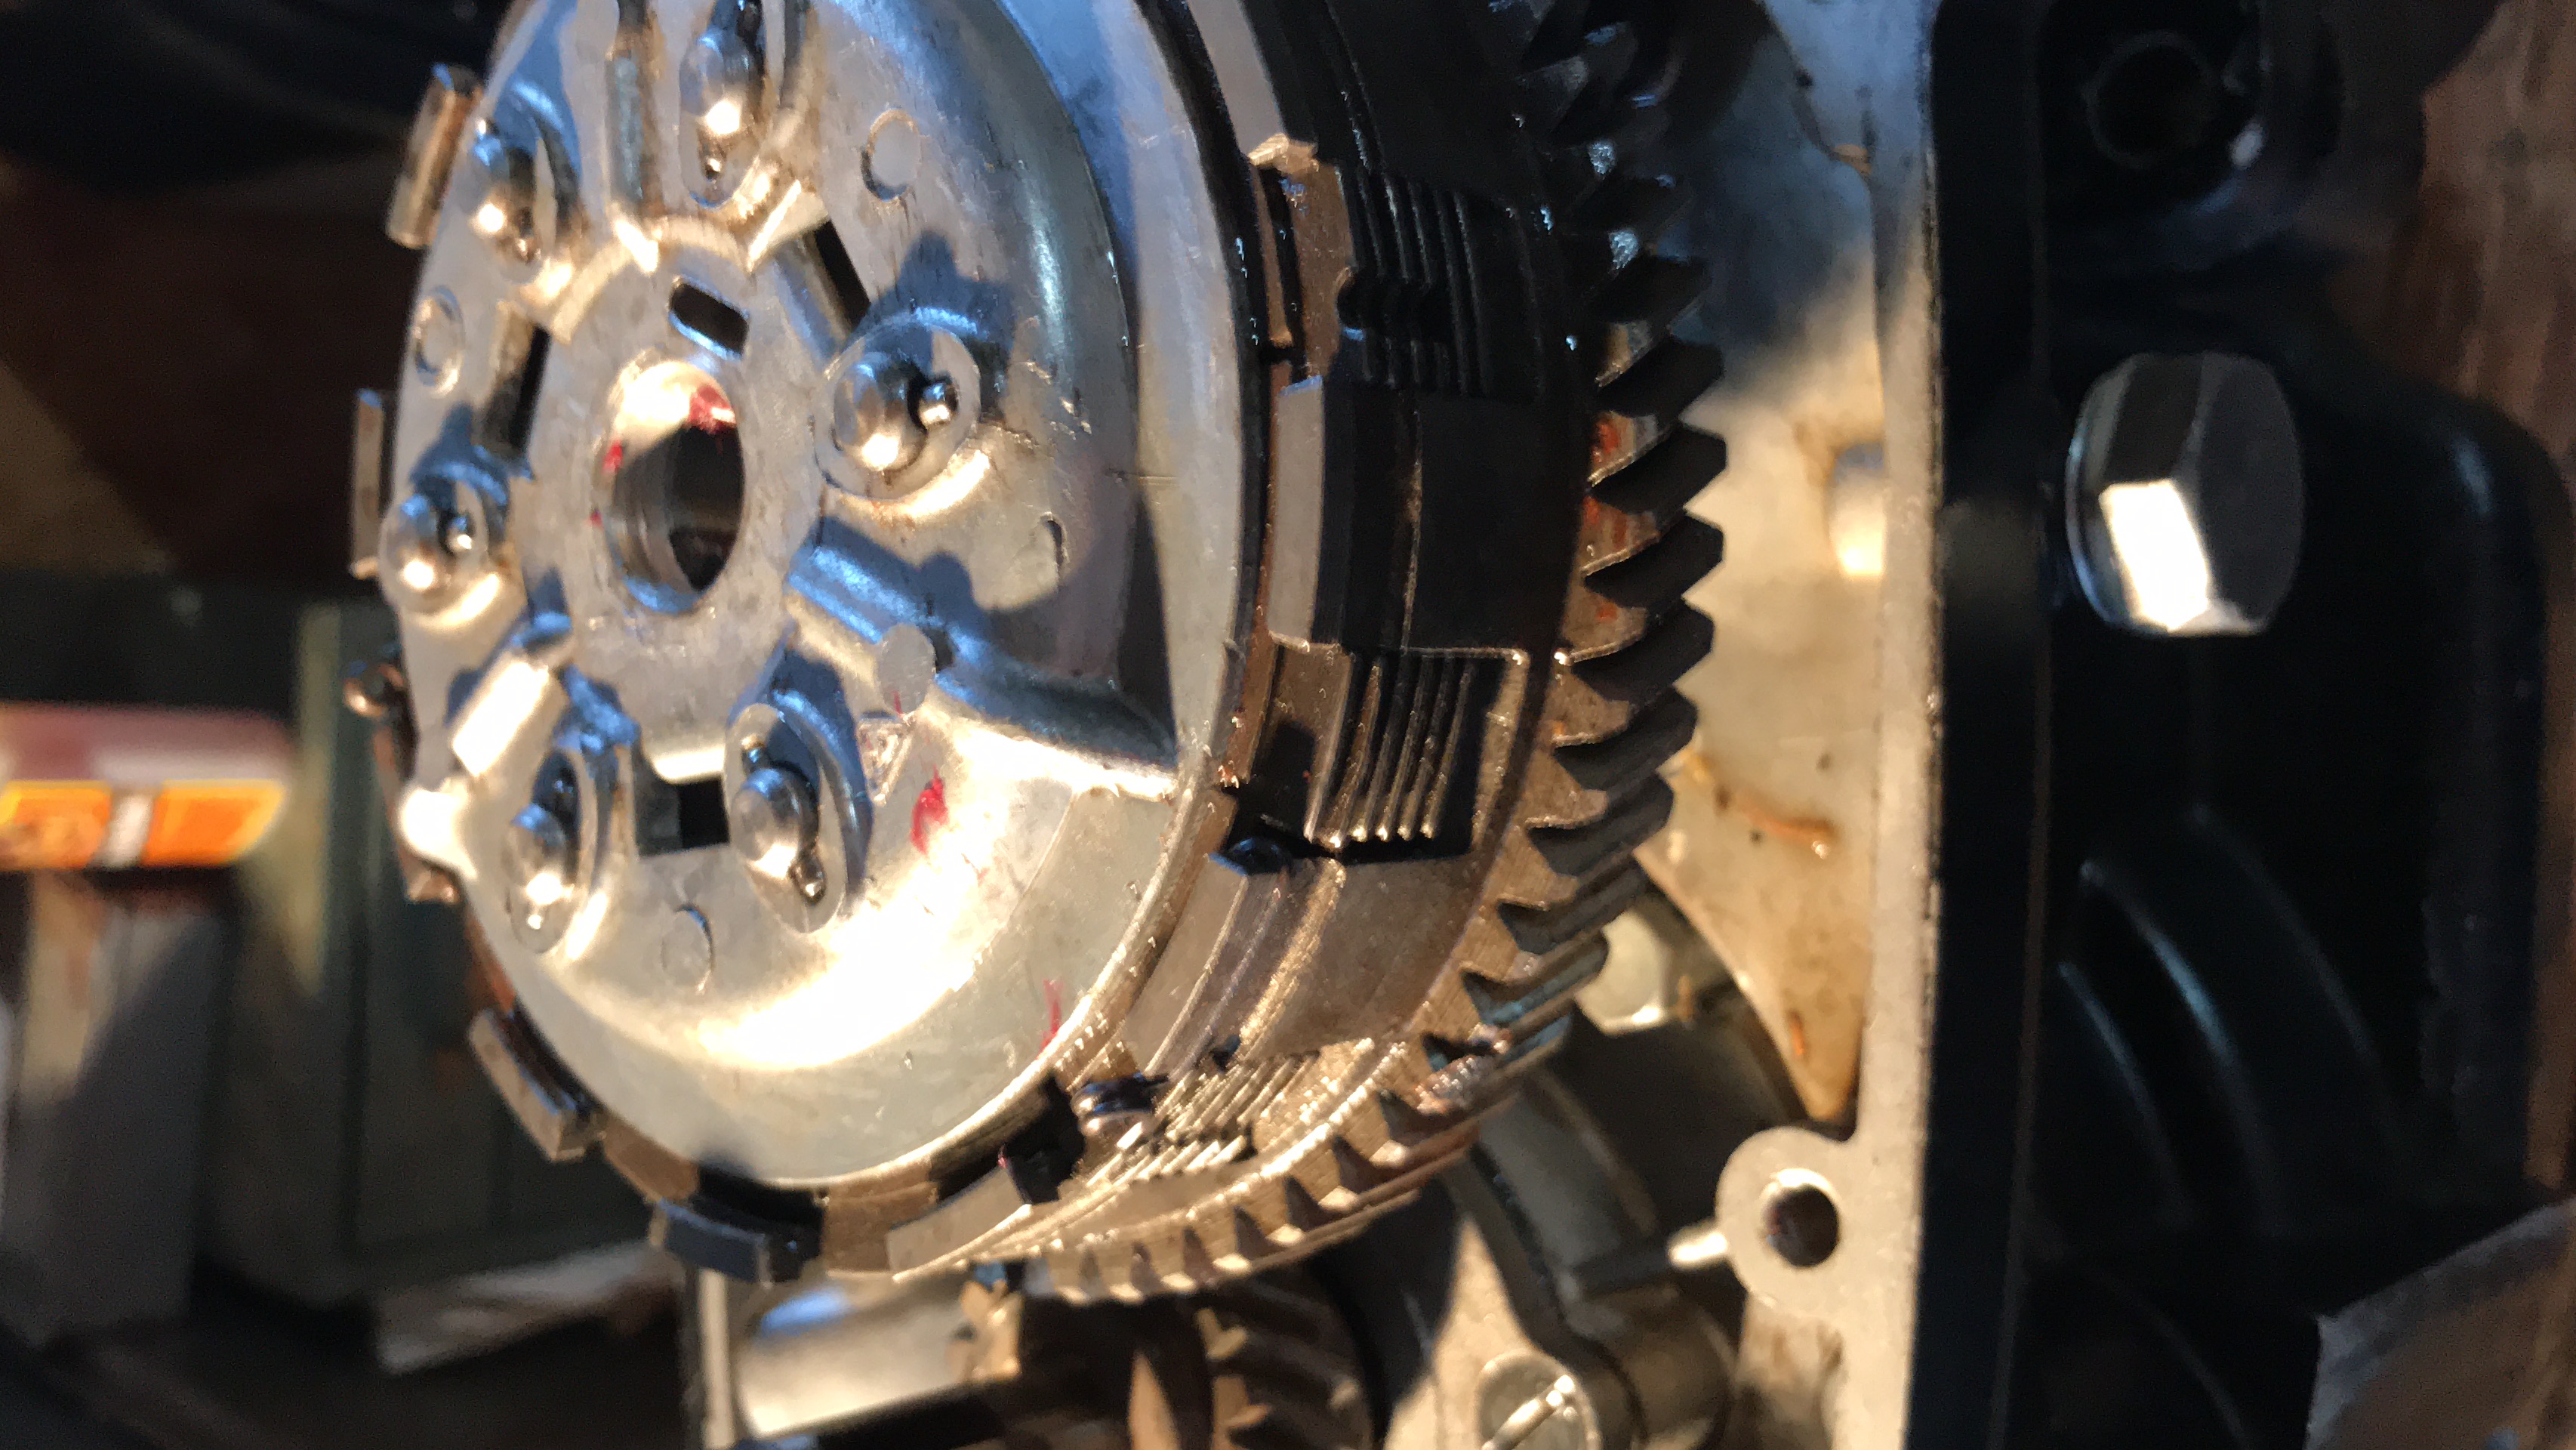
As the motor is being worked on in the shop we are turning our attention to the clutch and frame. I got the clutch apart. Looks ok but its bearing is being replaced.
Can you do me a huge favor and take some pictures of the front hubs?
The bike came in parts and we are unsure of the collar and washer locations. We have a speedo too.
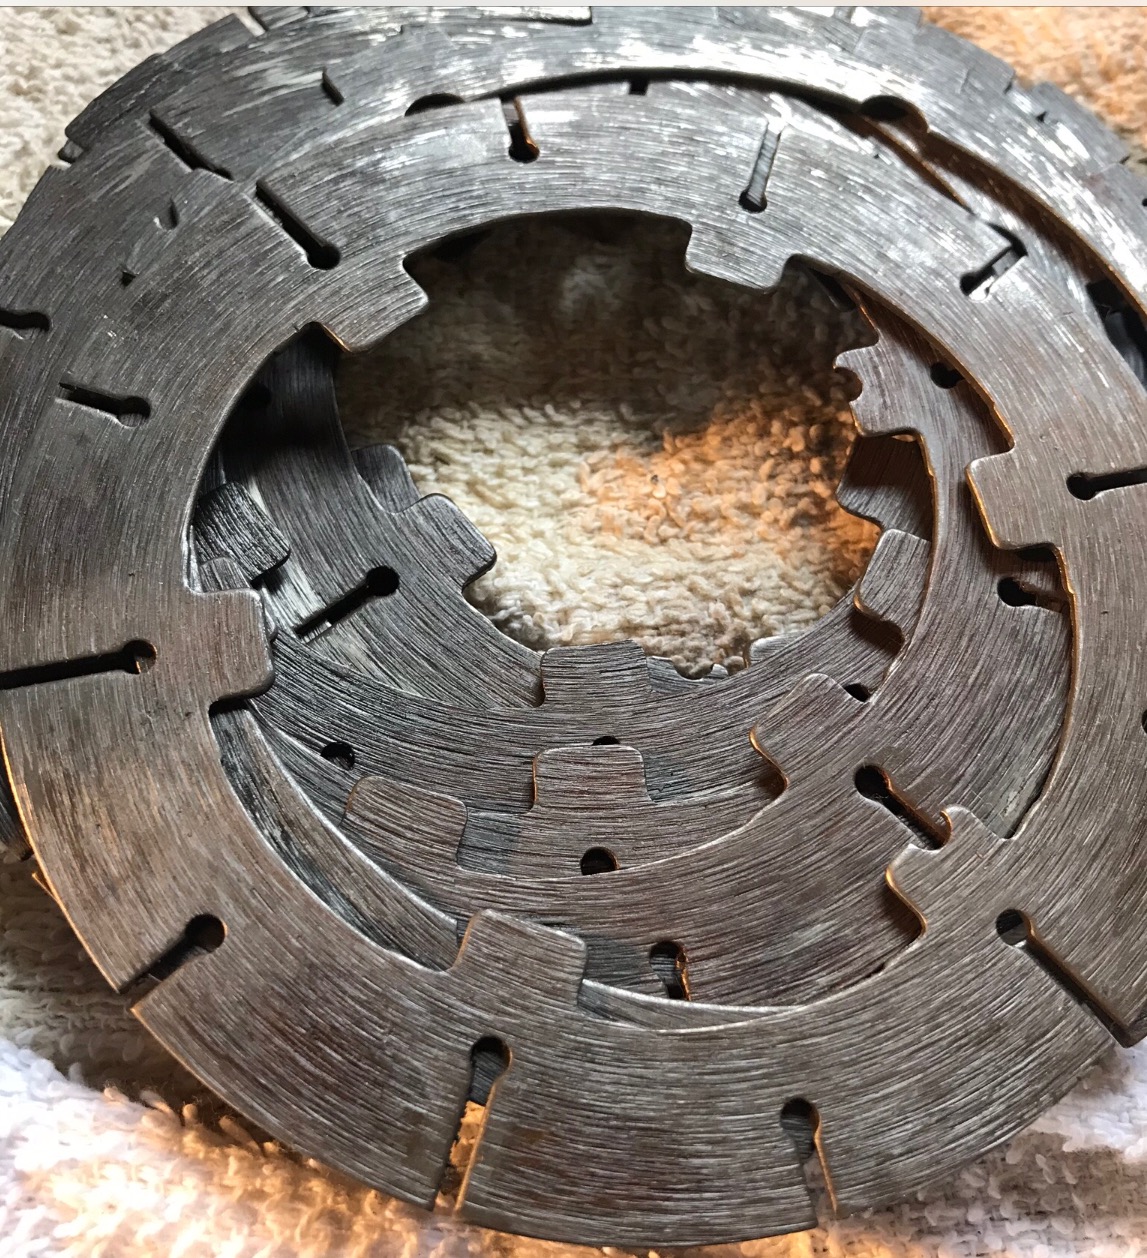
After disasembling the plates, remove the wear scratches in the basket using an abrasive file.
Great tool fabrication. Thank you.
If I understand correctly one must remove first the small Friction Disk Spring retainer clips prior to compressing the plate enough to pull out the pins?
Our 349 has a clutch in need of attention and need to check the plates' condition etc.
First concern is on how to remove the 3 or 4 retaining clips on the outside of the plates without damaging them? And is this preventing the removal of the gear section on rear of basket?
Next it seems very difficult to press the plates enough to be able to remove the pins.
Any pointers or advice would be greatly appreciated.
Lastly, what are the wear tolerances on the plates and signs of excess wear.
Thank you.
Here is a picture of the basket and note the little retainer clip.
Maybe start a new topic and ask about the 349 clutch? There are others who should know more about it.
Those springs look like a later version of ant-rattle springs and I don't think they will make much difference to what you want to achieve. Remember the clutch lever puts a huge pressure to release it, you have the lever at the handlebar ratio multiplied by the lever at the outside of the gearbox, then the tiny lever inside the case, so lots of pressure needed. You might be able to set a strong bar across the plate with a clamp each end?
Will do thanks
Thank you Oldaz.
Something is really odd on mine. I can't get the clutch to be pressed in to to release tention so as to pull out the pins which would allow me to remove the plates. That is why I was asking about removing the retainer springs on the outside of the basket. When we got the bike the clutch was already removed so not sure what its condition is. It seems really dirty and maybe corroded.
Something is really odd on mine. I can't get the clutch to be pressed in to to release tention so as to pull out the pins which would allow me to remove the plates. That is why I was asking about removing the retainer springs on the outside of the basket. When we got the bike the clutch was already removed so not sure what its condition is. It seems really dirty and maybe corroded.
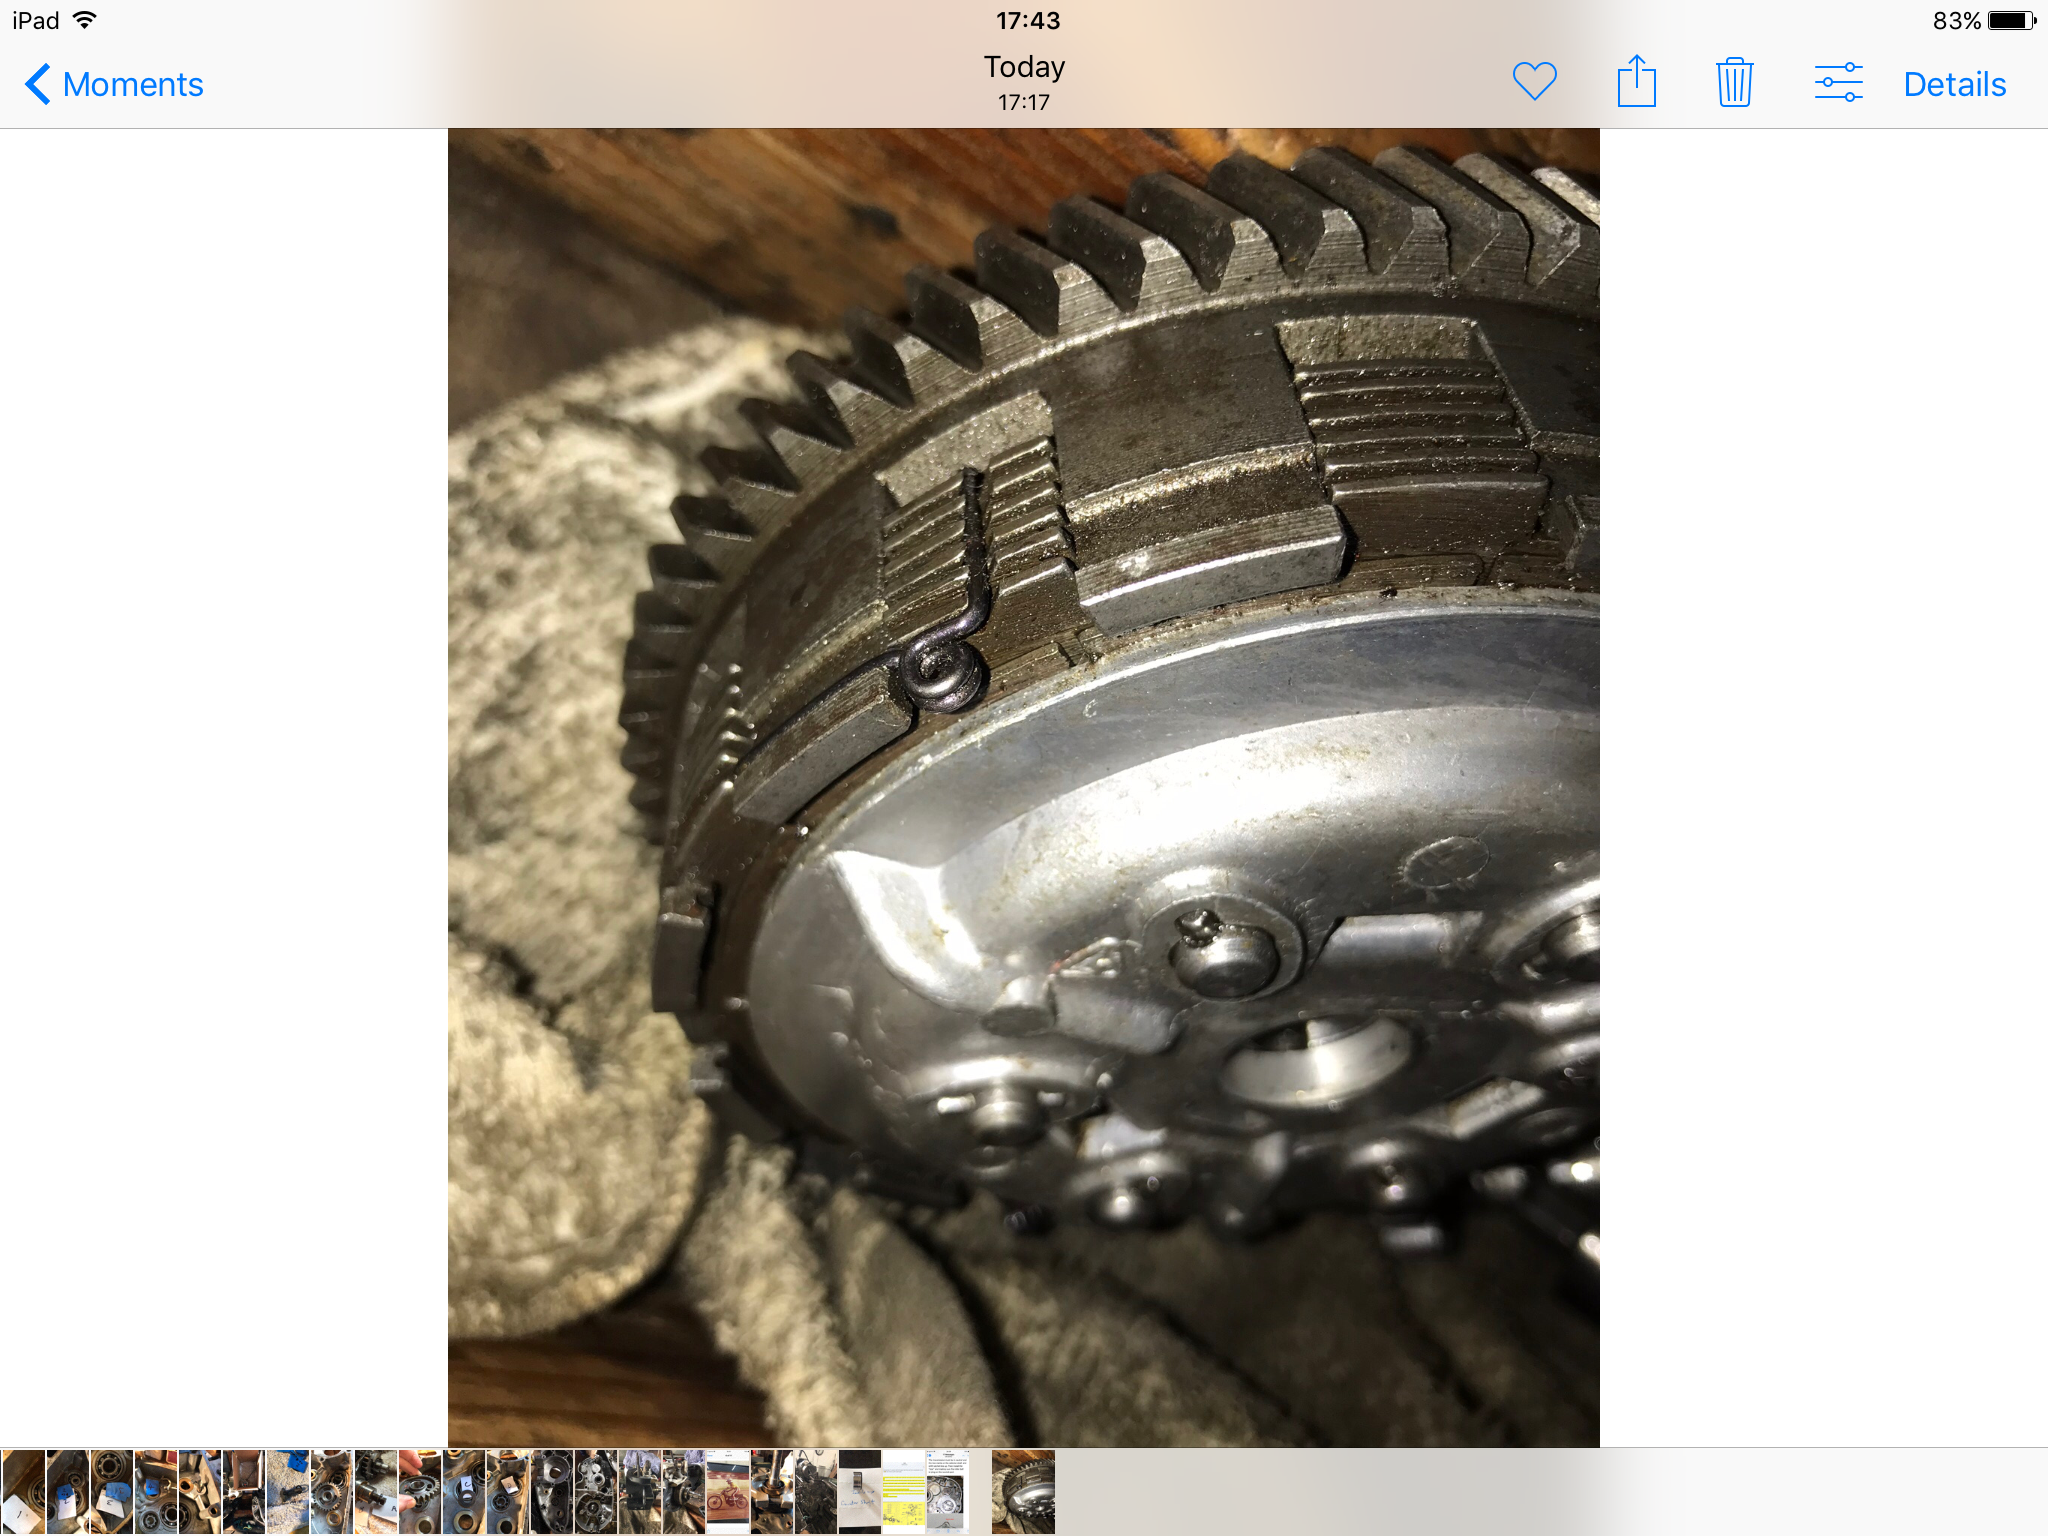
Any advice on removing the 349's spring retaining pins (i think PN 0263.11305) on the outside of the plates so as to disassemble the clutch for inspection?
Slow going due to other priorities, but I manage to keep chipping away at it - with the power unit back in the frame I've managed to complete the clutch set-up, complete the timing side, fit chain, overhaul and fit carburetor, throttle cable done, single wire for coil works, chain tensioner works, kill switch wired in and then started to fit the air box. Rear mudguard was too far forwards at the front edge (if you've been following, the mount was missing, so I guesstimated where the new one should be) to allow the air box to fit in, so back wheel out and mudguard off, make up and fit new front bracket extension, modify mudguard to suit and put it all back together. Have to get new stainless clamps to mount air box, then I can move on to exhaust. The exhaust poses a few problems, not the least being the damaged clamp nut and most of the thread is missing from the barrel - another challenge ahead.
The Ulf Karlssen stickers for the tank/seat unit just arrived so the end is now in sight - still have to repair the fibreglass and re-paint though.
Great work!
Turning our attention now to the clutch basket while out crank and cylinder are being reworked can you let us know how you removed the discs from the Outer geared set from Disk Set? Any pointers and things to look out for?
Got some more done over the last couple days. Completed the kick start settings/clearances and timing, repaired the case damage from kick start over-travel and tidied up where the chain had hacked the side of the case, fitted the new seals and bearings, modified the oil drain and assembled the two engine halves. I was pleasantly surprised how easy it was to reassemble.
When the kick start timing is correct and the lever is in the right place, the mechanism is quite good and it becomes difficult to over travel the shaft and cause the damage - there's even enough room to get a thin metal plate on the side of the damaged casing web. Pictures show the aluminium patch on the kick side and the JB Weld on the flywheel side. I veed both sides of the hole in the case web, screwed the patch in place, then completely filled the hole made by the kick start shaft stop. Now when the timing cover and gasket goes back on there shouldn't be any water ingress into the magneto.
Does anyone have a wiring diagram for the ignition on one of these? I won't be running lights, so only need the ignition circuit.
Excellent repair. Thinking ahead when we begin to reassemble the engine, can you please describe what you accomplished in “kick start timing”. Thank you.
Been following with interest your refurbishment of your UKR. I have a mk4b the version before yours and have found similar problems to what you have come across. Your timing cover might have been damaged by the chain but pay particular attention to the inner case around the Kickstarter shaft, in a lot of cases the Kickstarter itself has been positioned to far forward on the splined shaft in the miss belief it would give a longer throw to the kick, unfortunately all it does is allow the stop on the shaft to punch a hole through the inner casing allowing water/moisture into ignition.
The correct position of the kickstart should be the ' one o clock ' or 30 degrees, or looking side on parallel to the frame down tube.
Hope this helps, here's mine.
Interesting. The 349 we are restoring has a hole too at kicker shaft area. So, this is caused by a miss positioned kick lever? I dreaded that something in the mechanism close to the case may have been the culprit.
Been following with interest your refurbishment of your UKR. I have a mk4b the version before yours and have found similar problems to what you have come across. Your timing cover might have been damaged by the chain but pay particular attention to the inner case around the Kickstarter shaft, in a lot of cases the Kickstarter itself has been positioned to far forward on the splined shaft in the miss belief it would give a longer throw to the kick, unfortunately all it does is allow the stop on the shaft to punch a hole through the inner casing allowing water/moisture into ignition.
The correct position of the kickstart should be the ' one o clock ' or 30 degrees, or looking side on parallel to the frame down tube.
My TY175's kick starter has begun to feel a little looser then before. Most worrisome is the fact that it seems to not "catch" or engage until very low on its throw. Unlike my TY250 which seems ready to catch and propel right away.
Seems like the 175 only grabs and propels about the last 3 inches or so of its travel.
The electrical portion on the throttle/kill assymbly on my restoration TY is finally beyond repair. The post and contact slider are disconnected.
Anyone have the innards they want to get rid of so I can reinstall them in my housing or know of a source for these parts or a place to have it rebuilt?
I could always put an after market kill switch but I love the classic look of this bike. I found a source on e bay that sells the black thumb switches so I feel I can manage this off.
I think you are right. It's a bike I recently acquired and was in sad shape. I plan on just having it as such till I do a major on it as I did on my TY250A. The band aid approach is fine for me now.
I appreciate your advice as I am a novice at this.
No man, not knocking the fine fellows nor the products from TYTrials, simply that the mod did not fully work on my bike. All,the other components in the kit actually fixed my bike. I now have all 6 gears thanks to them. In fact I am about to place another order for them soon. It's all good.
Alright. I consulted with a fine mechanic/machinist at Superior Sleeve in Portland Oregon. His advice was that the shifting mechanism was fine and that the trouble was with the modified bushing on the Shifter Cover.
Turns out that the machined bushing from TYTrials was binding and jamming my shifter's shaft preventing me from shifting. It was recommended that I first remove the 2 Locating Pins to allow the bushing to float into a position that would not bind. I did so and the shifting was fine till I tightened the 4 screws on the cover. The tighter the screws: the worse it was to shift. I then mounted the old OEM cover back on and the bike now shifts into all 6 gears. Turns out all I needed was the inner parts of Shifter 2. Not the bushing.
So now, I ask you guys, what did you do to re-bush your cover to steady the gear shifter? Mine has too much play.

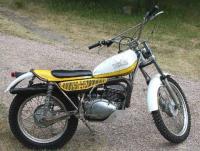


Montesa Cota 247
in Montesa
Posted
Hi Oldaz.