I'm just about to do mine too, I saw some where that its 90 to 95 cc of oil. Original I believe is 5w Bel Ray oil, but I'm starting off with 10w fork oil, as I'm of larger build!
Put the inner tube into body, then fill with oil.
Gently continue with pistons and seal housing and push rod all way down as that gives max oil displacement, then cap on and nip up. Test damping ensuring no 'loose' areas.
I guess it's gonna be a messy job and a bit of trial and error.
The stock Beta chain is of good quality, better than some other manufacturers supply. The front sprocket does tend to wobble about a fair bit on the Evo, but seems the norm.
I have witnessed some local riders over-tightening the chain on Evo's, for some reason it just seems a bit more fiddly than normal to get the right slack, but take your time adjusting it and run it loose is better than tight.
Don't ride that anymore, I believe the lower silver spindle holder part is glued to the lower leg. Looks like the parts are shuffling about, causing that grey paste.
You'll need to get your forks to a suspension specialist or a good engineering company and have the parts re-bonded.
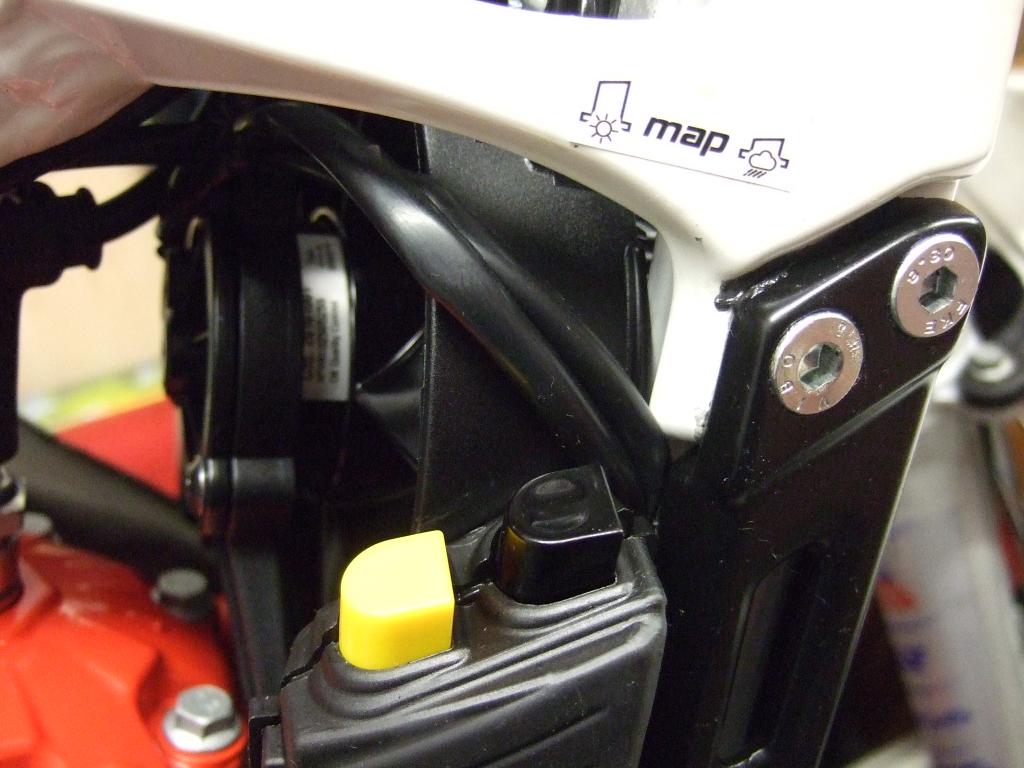
Does it do it in both Map settings as mine is rough of the bottom in Dry setting, didn't help that Beta changed the colour of the switches over for lights and map and didn't update the manual.
Keep an eye on the exhaust muffler to plastic end piece joint, is there any smoke coming out there?, as mine had badly assembled exhaust packing and was blowing. When I took the end cap off
I could see most of the exhaust wadding had caught on a internal screw boss, and scrunched all the wading up to one end, so it wasn't silencing properly and getting really hot. Just re-assemble
the pipe with packing but take time to pass it by the screw boss.
Oh and make sure you pop the flywheel cover after every wet ride or jet wash as the new waterproof cover.... isn't. No need to remove, just 2mm gap will do, leave until next ride to dry out.
Not sure if these help your problem but just some tips if not.
The new rivets are hammered (gently) in. Problem is getting the old ones out as they are hardened. I would say a pair of pliers with nice sharp jaws to provide a bit of twisting movement, and then a thin screwdriver between the case and inside of plate to help lever out the rivet. After all your old plates probably had it.
If the pliers don't work then I would get a dremmel with a fine cut off disc in it and try and put a shallow screwdriver slot across the head to try and turn it that way. As for drilling out... your right, probably end up with a big ole mess. Bare in mind that the casing's are thin and reasonably soft, so gently with it.
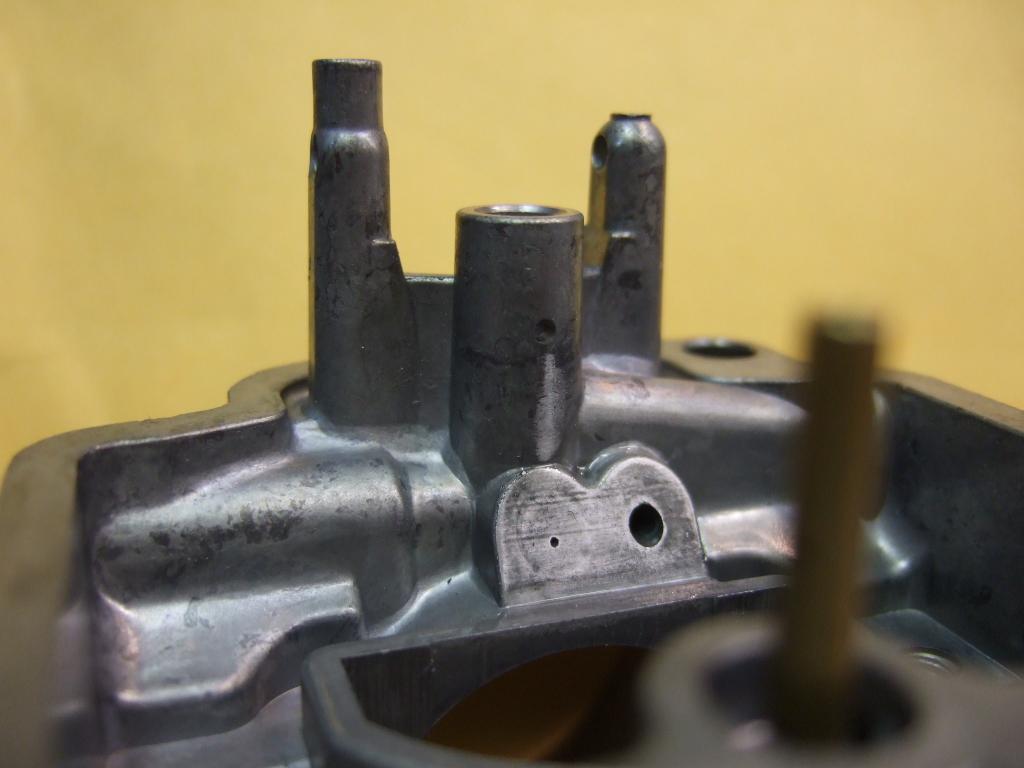
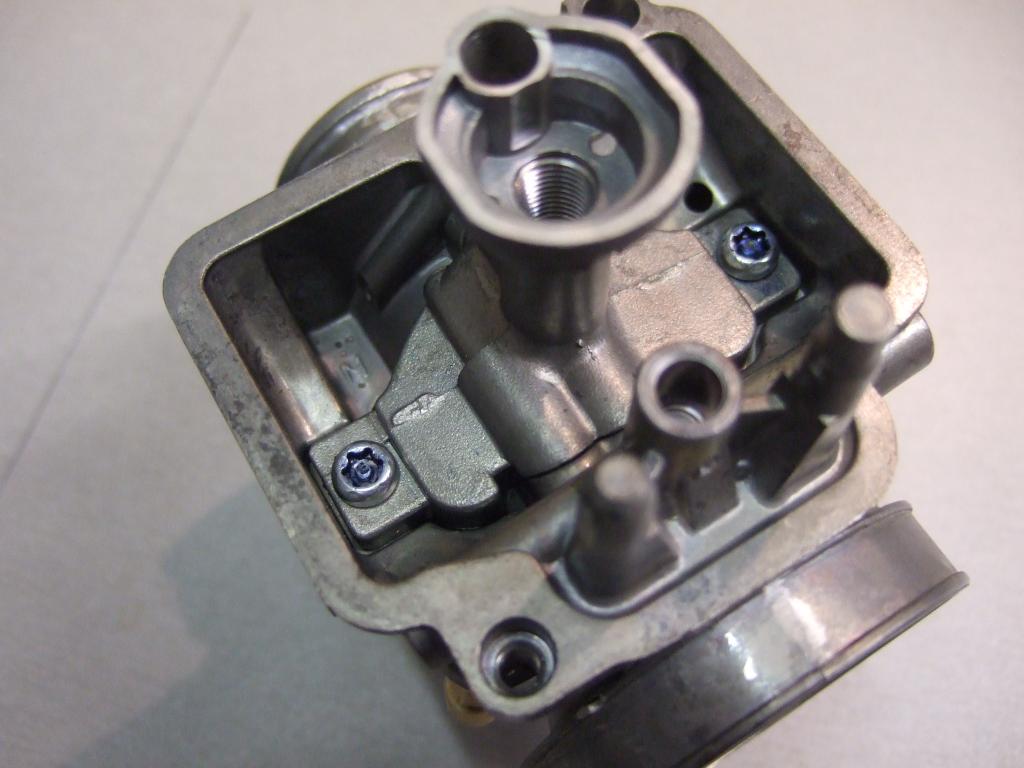
Just like to share these mods that I've done to my Beta Evo Keihin PWK28 carb's. This was an attempt to stop the carb running out of fuel during steep or long climbs, If it was preceeded by a sharp drop, it was even worse. There are reports that the same thing happens to these Keihin carbs on the KTM Freeride's.
The following mods seem a bit and#39;last resort' so always check the simple stuff first, like float levels, clear breather hoses, particularry on the Evo's where one pipe runs up the frame towards the petrol cap. This can easily get blocked with mud or water or filled up from a jetwash.
Disclaimer- I'm not saying these mods will be a cure all for everyone but I found on the ones I've modded this has cured my problems. I've tried to do the mods in order of importance, and feel the #1 and #2 steps are most worthy. You maybe able to get away without having to dismantle the body of the carb for #2 mods, but all of it is at you own risk, this is a guide not an instruction
.
Why? My views are this, the PWK28 was and still is a mighty fine piece of engineering, but it's been around along time. I'm thinking that Keihin have not refreshed their die-casting tools or broaches for many years, subsequently everything is wearing out small gaps are becoming too narrow, pocket depths are getting shorter/larger/smaller, cheaper alloys are used with less stability etc. even lookng at the quality of the slide chamber broaching, it is a ploughed field now.
So my aim here was to free up space around the main jet to make sure it can always fill, even with the jaunty angle the carbs installed on the Beta's, and to open up the holes in the main jet roof too allow any air pockets out and reduce the time to fill this void after a decent. It's all about fuel flow around the main jet.
Hi, does anyone have a good recommendation for a replacement Fuel tap, that doesn't leak after a couple of years, or can you get replacement seals for the original Fantic ones.
Factory 2015 setup, so I'm pressing the Right Hand button thinking that's the map, cos the manual also says it's the R.H one, but didn't notice any difference only to realise via these post's it should be the yellow one!
It's even different to a standard 15 evo!
Well done Beta, another great bit of quality control to go along with all the other rubbish I've had to put right.
I would advise against putting grease of any sort on the back of the seals / grooves during assembly. It will trap in the bottom of the groove and cause the seal to have a reduced inside diameter. This can cause the seal to be damaged when piston is inserter of cause seal to bind on piston in use or when attempting to bleed.
To a certain extent that is correct, you don't want to put a toothpaste squidge amount in there, as I said thinnest of smear's and wipe off excess. it's only their to help the seals settle into a nice clean corrosion free groove. I wouldn't suggest using anything but pure silicon grease either as other greases may affect the seal material.
Hi. I think there's a good chance you're seal groves are corroded, so when you put new seal's in it will make it worse.
You'll need to strip out the pistons and seals and shape a little scraping tool from a used hacksaw blade and very carefully clean the bottom and sides of the sealing grooves of all corrosion.
Once you start picking away it will be obvious and you will be surprised how much is in there, but take your time and be careful as you don't want to remove any aluminium or damage the groove by putting a gouge on it.
Lots of cleaner and air line blow out and then put seals back in. I sometimes install with the thinnest smear of silicone grease to the back of the seals.
I can get a picture of the tool I use, if that would help
Well it depends on the sections but when those two are the only ones that get through a section i guess that little bit of saved weight or 1'2 a bhp could maybe mean 15 marks?
how many marks would bou or raga or cabestany save per trial if they rode standard out of the box bikes
Just as well Bou is handicapped by the Honda, imagine him on an even lighter 2 stroker. Wouldn't be worth the rest of them turning up!
Boeshield is way to expensive to use on motorcycle chain, although it does a great job if you leave it overnight. There are a lot better trials chain lubes to use. I use it sparingly on mountain bike chain and again you need to use it day before so it dries off and leaves a non tacky surface. You can also buy it in bottles, this is best as there no waste, you can place it where you want.
Boeshield is great for hinges and pivots, but as solvent based don't get near anything rubbery or certain plastics, same applies to WD40.
Best thing to use is GT85, but not as a lubricant! I use gallons of the stuff, for water displacement and protection.
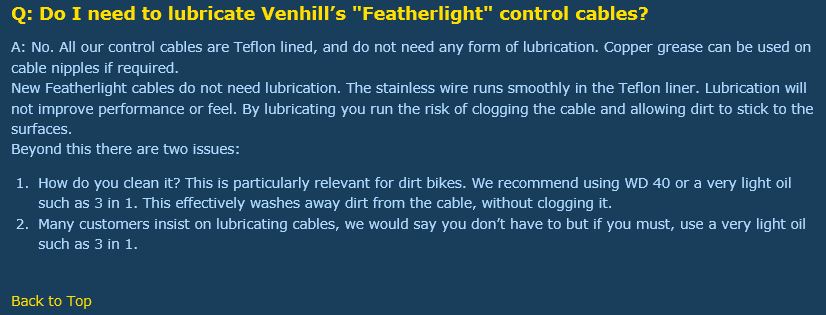
Venhill only recommend you clean their cables with WD40, and lube them with 3in1 or light oil. I'm surprised they don't recommend using Silkopen as it's engineered for lubing cables. It's a graphited spray, and I used this many times over the years and works a treat.
Love to see a UK style promo vid... something like a rain lashed Butser Lime Works in November or December. I'm sure that would fire up the dreary British punters.
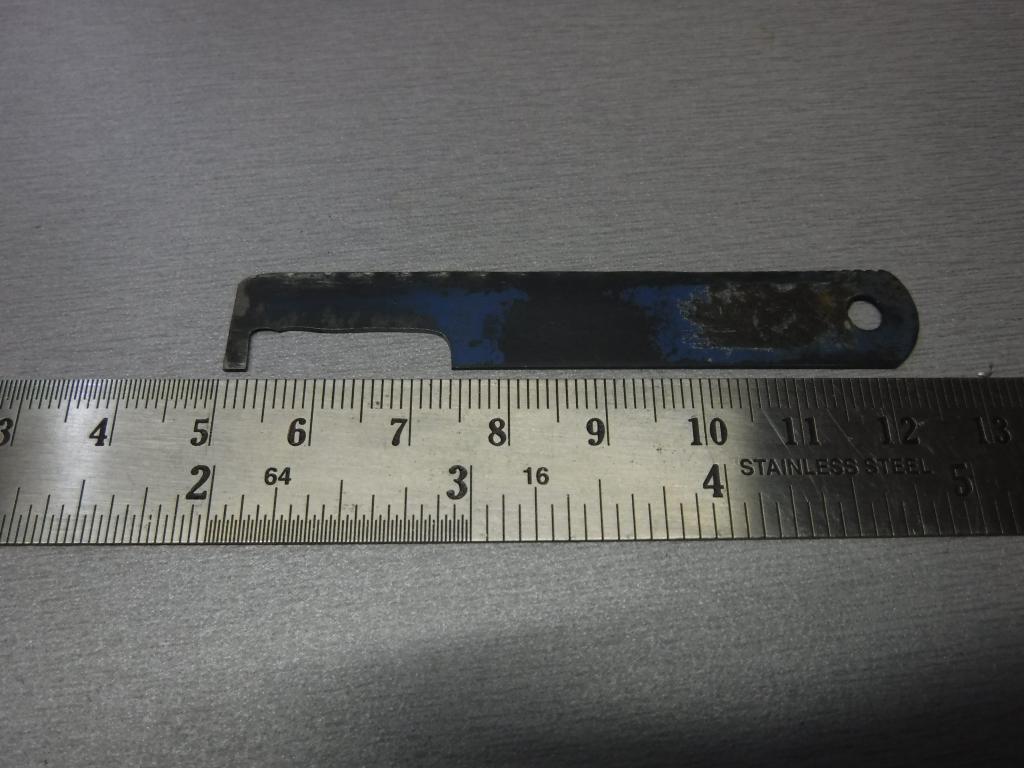
Fantic 240 Drain Plug size, my latest purchase has a horific epoxy repair around the drain plug. I'm not even sure the plugs standard, so would like to know original size so I can have a go at proper repair and try and use original size. M12x1.5 pitch ?


fantic 300 1984 marzocchi shocks
in Fantic
Posted
I'm just about to do mine too, I saw some where that its 90 to 95 cc of oil. Original I believe is 5w Bel Ray oil, but I'm starting off with 10w fork oil, as I'm of larger build!
Put the inner tube into body, then fill with oil.
Gently continue with pistons and seal housing and push rod all way down as that gives max oil displacement, then cap on and nip up. Test damping ensuring no 'loose' areas.
I guess it's gonna be a messy job and a bit of trial and error.