pmk
Members
-
Joined
-
Last visited
-
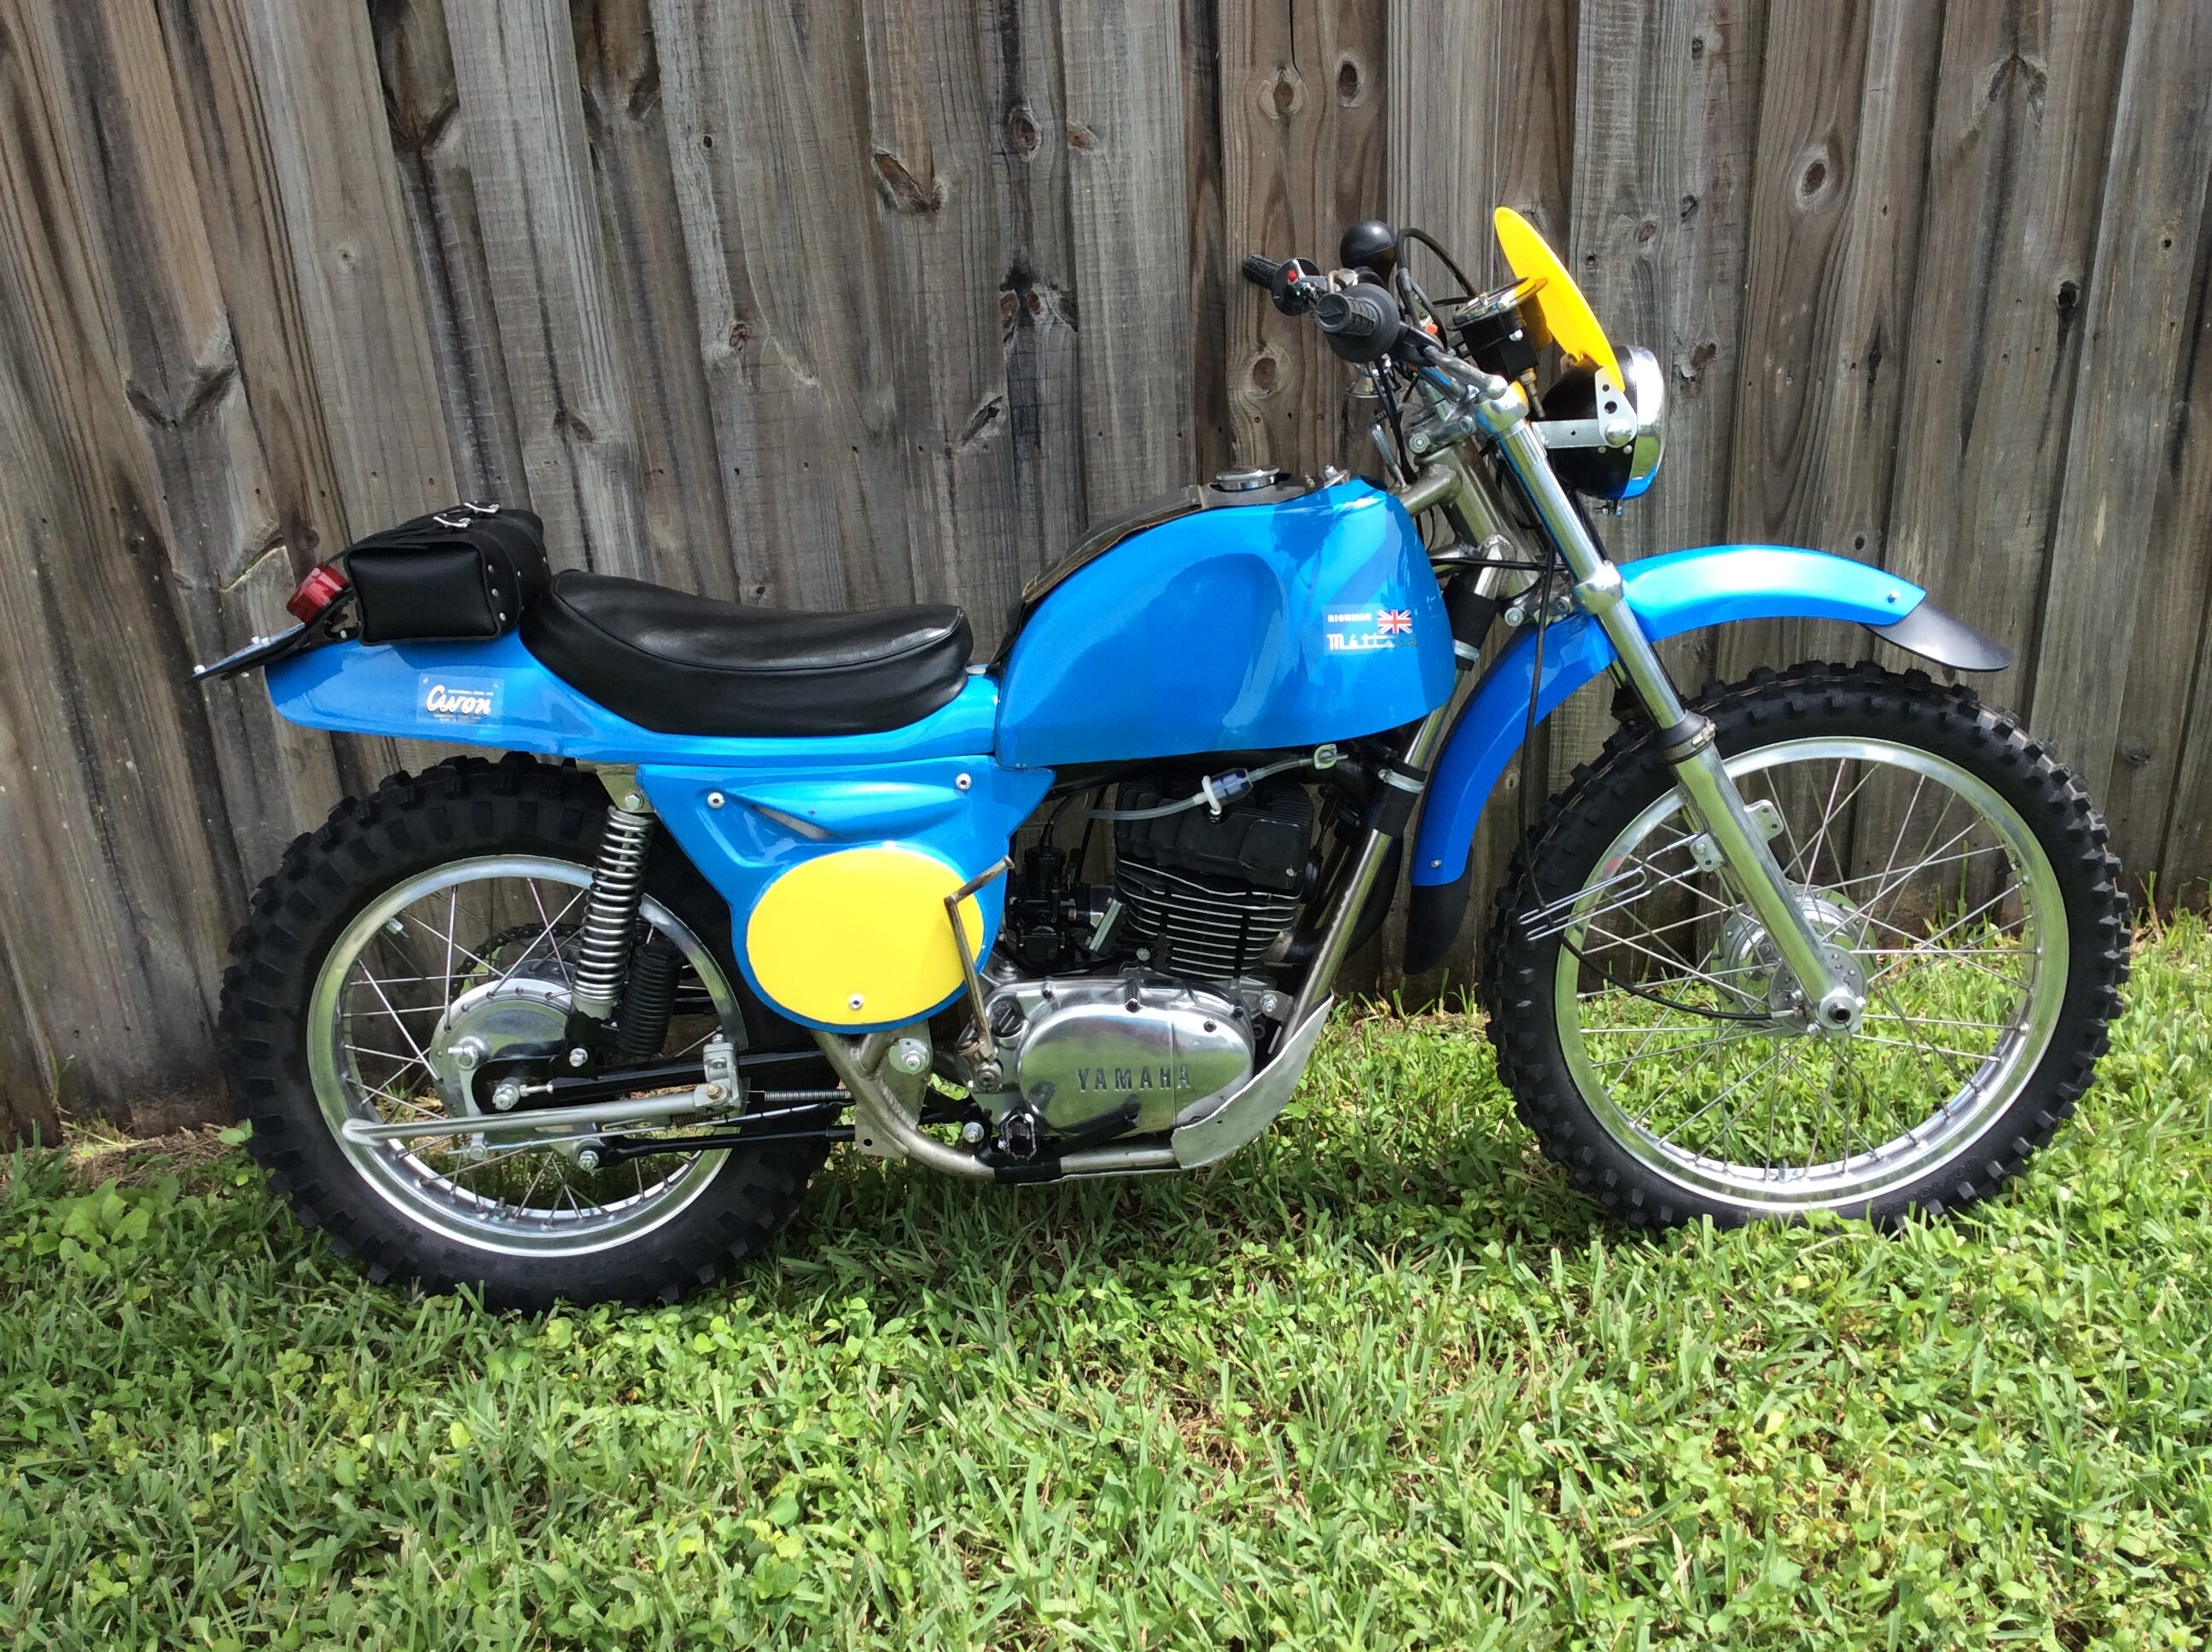
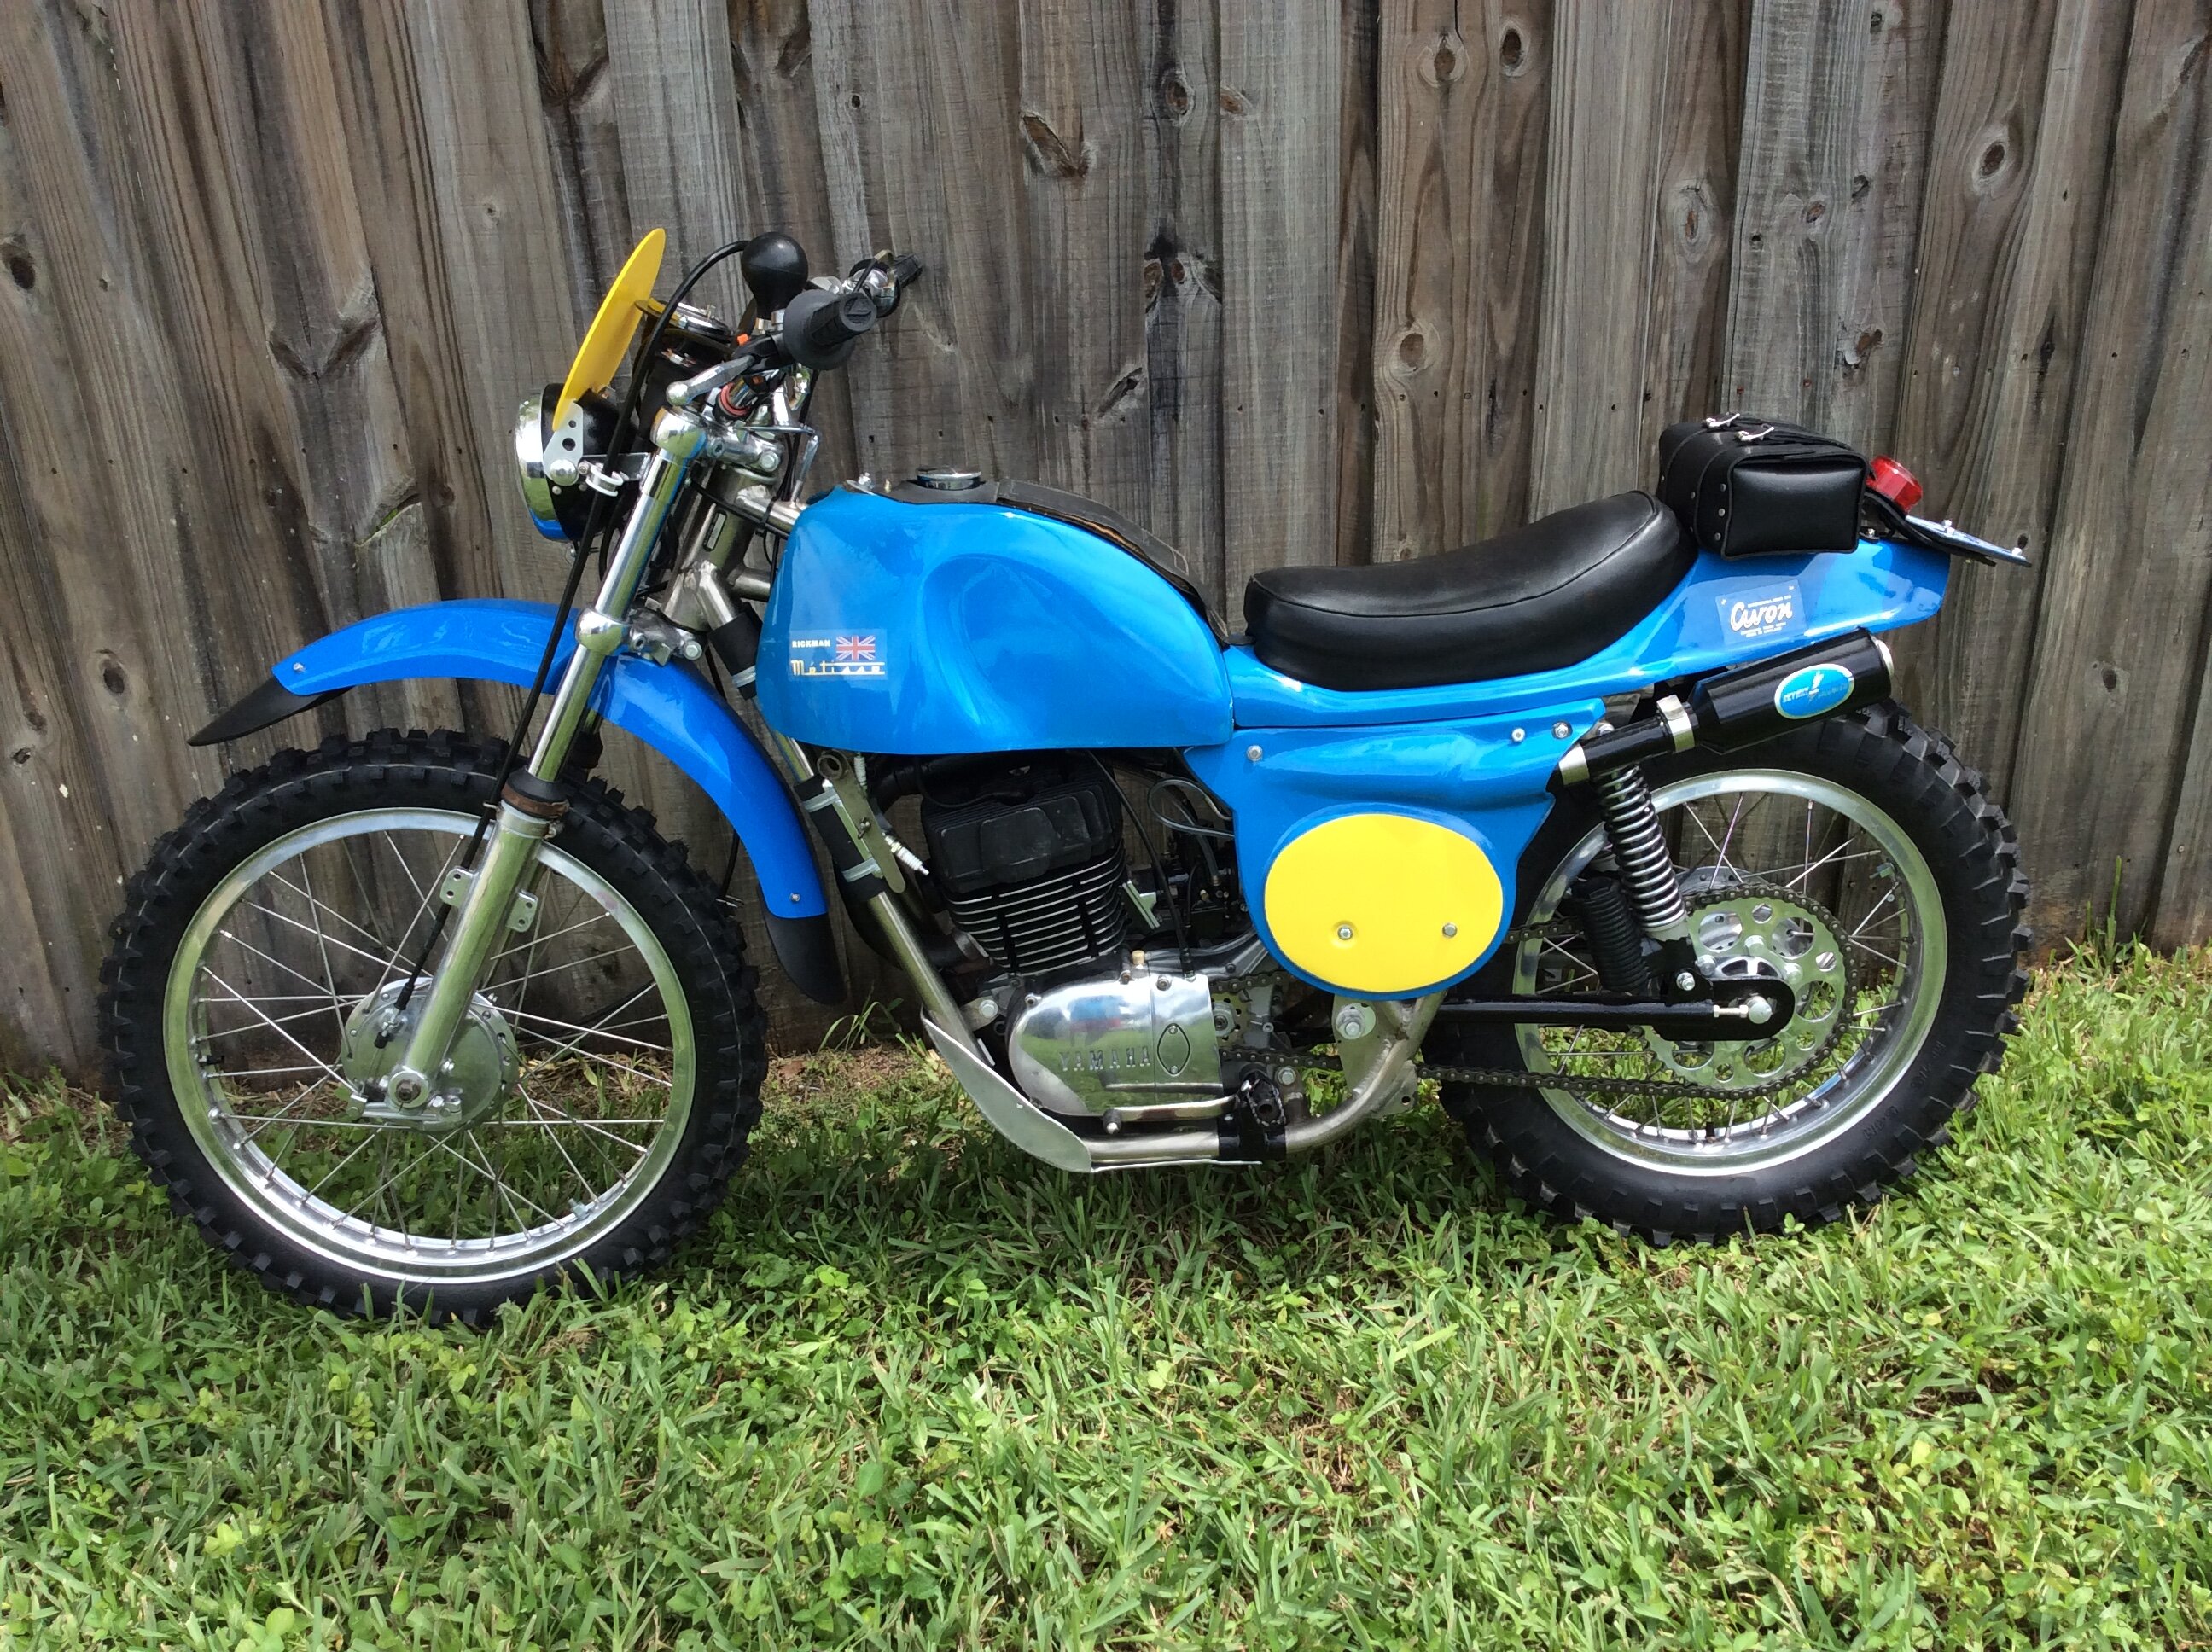
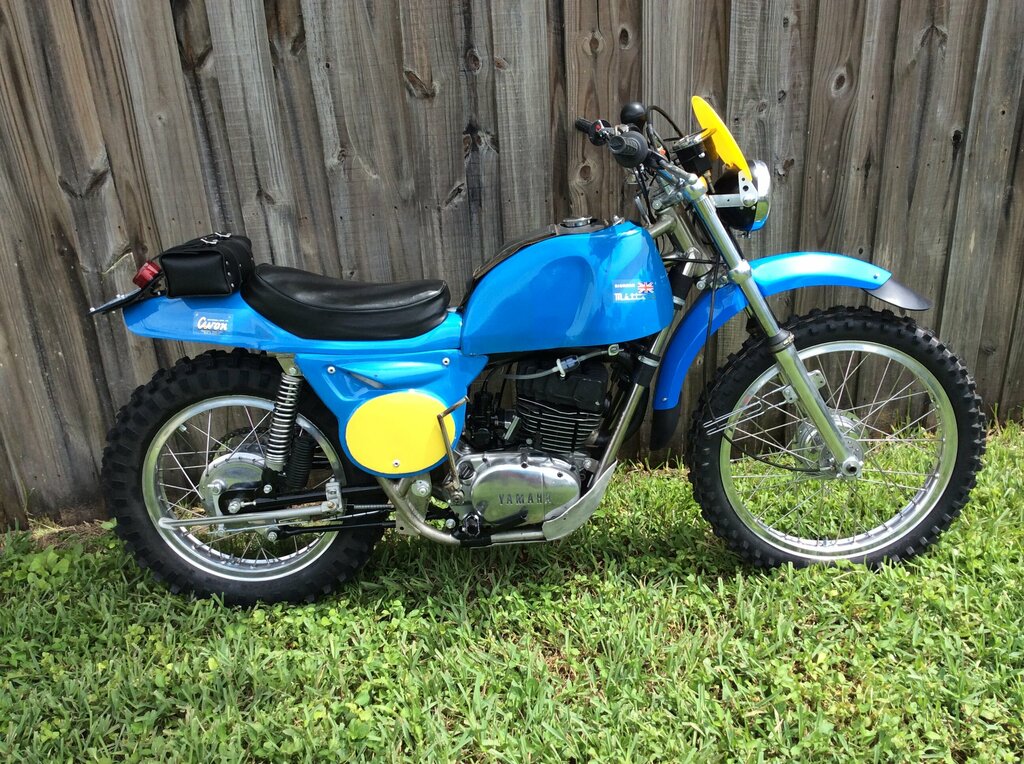
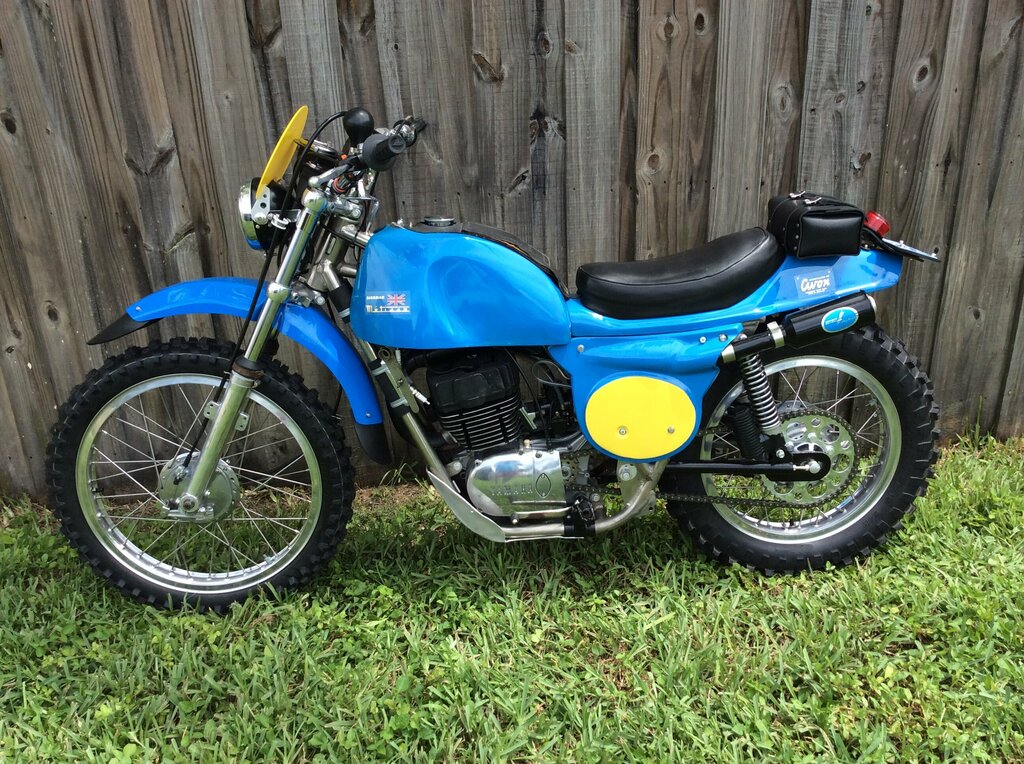
Finished. 50 years old and reborn. Titled, street tagged and ridden. Not restored since it seems no two were the same, not restomod except for LED bulbs, but built as a period correct time capsule, with period correct enduro options, NOS 1971 license plate, and kept as the originally built for enduros back in 1971 with the original RT2 360cc engine.
-
Rickman Yamahas, all but 1 were for the USA market. Yes, per the book, only 32 chassis were made. There is questions regarding if the first 11 were complete bikes or not. Everything thereafter was a kit per say. The buyer supplied the engine at a minimum. They could also supply wheels and forks, kind of depended upon what they wanted. It was not a special order, simply a Rickman purchased through Steens that the original owner completed. They were intended to be DT250 powered mx bikes. Mine was purpose built as a woods enduro racer in 1971 by the original owner. Bike has never been on a mx track. He purchased a RT2 360 crate engine which remains in it after a lot of work on it. Yes the actual serial number is in the thousands, but the method used by Rickman counted every frame built regardless of frame type or engine type. No plans to ride it off road. After enjoying modern bikes this would be misery to ride off road. Plan is a street tagged period correct cool enduro motorcycle. I have been corresponding with another owner that is almost done with his. We have worked together trying to locate the remaining survivors of the 32 made. We know of 6, I believe it is, so yes, somewhat rare and needed to be saved. FWIW, the original owner made changes, such as the rear axle having a sliding adjuster setup, and running a Yamaha rear wheel assembly. I opted to continue the Yamaha theme, and remain period correct, getting the proper Yamaha front wheel, and went with Yamaha rear shocks since the oem Gas Girlings are not rebuildable. Crazy as it sounds, even purchased a vintage license plate for it. Correct state, correct county, correct designator for a motorcycle, and correct year. Pretty certain the DMV will allow me to use the vintage tag as a legal current registered vehicle. So many small details to stay period correct. Hopefully it will be done soon, and yes, I will post a photo.
-
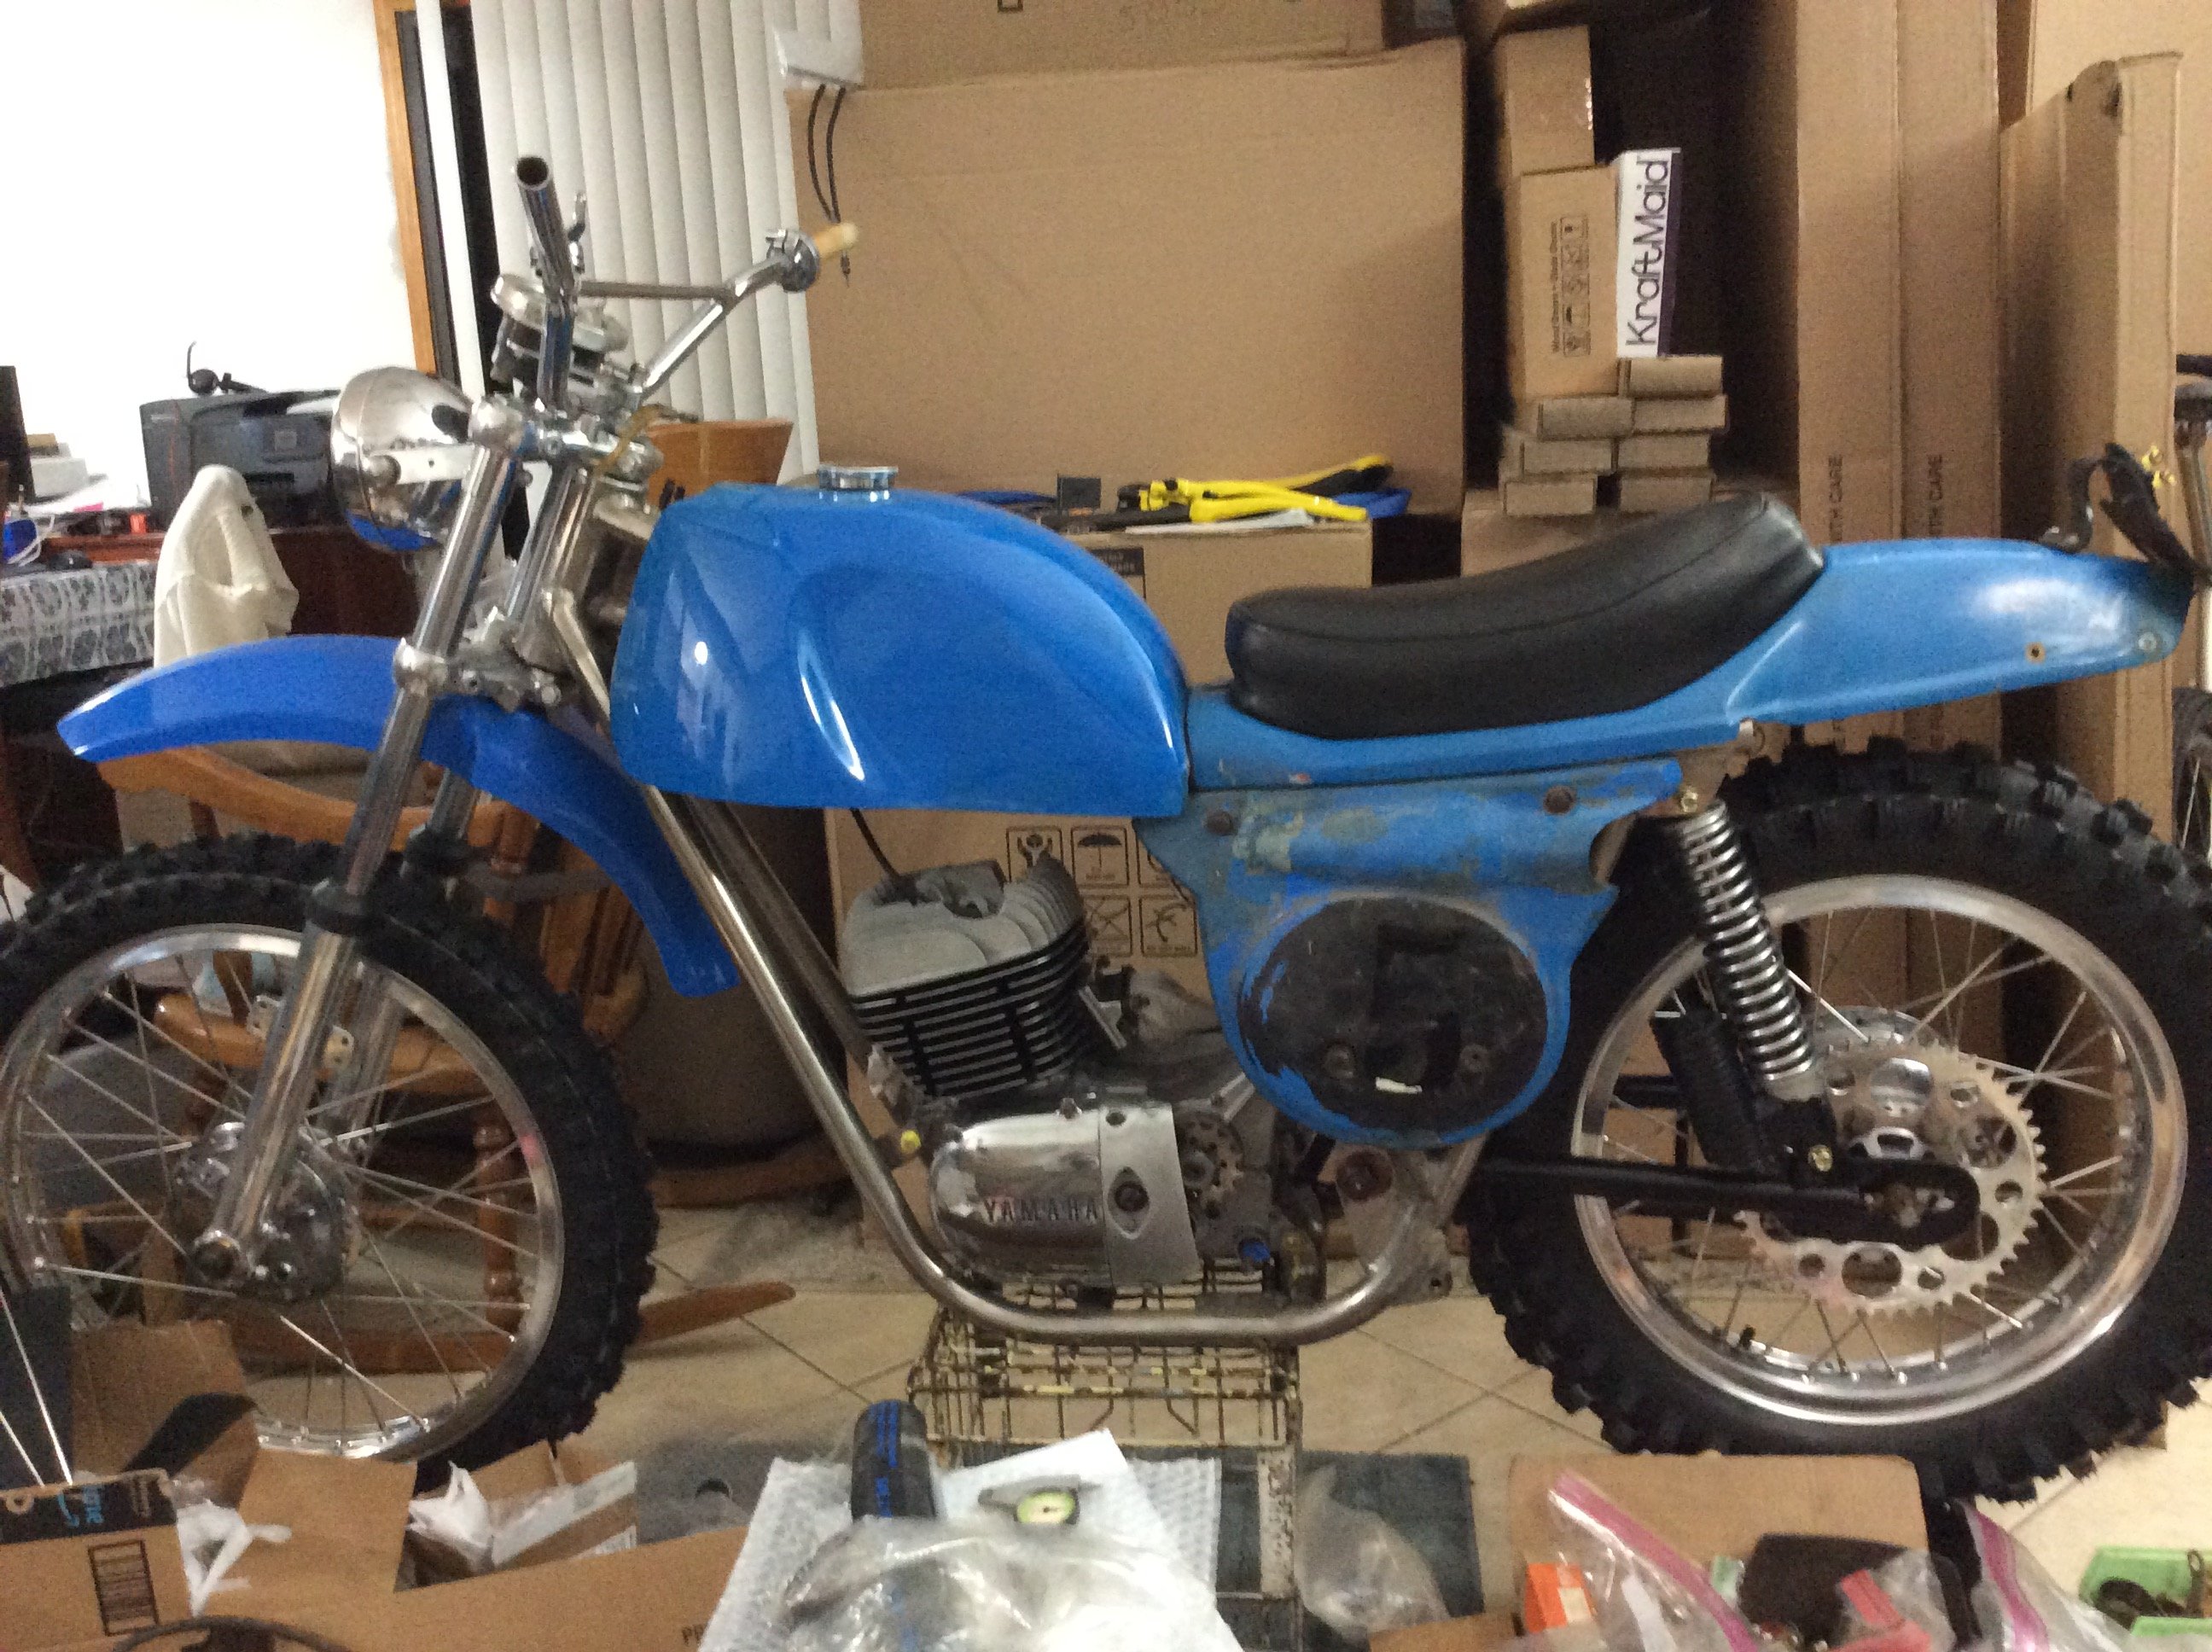
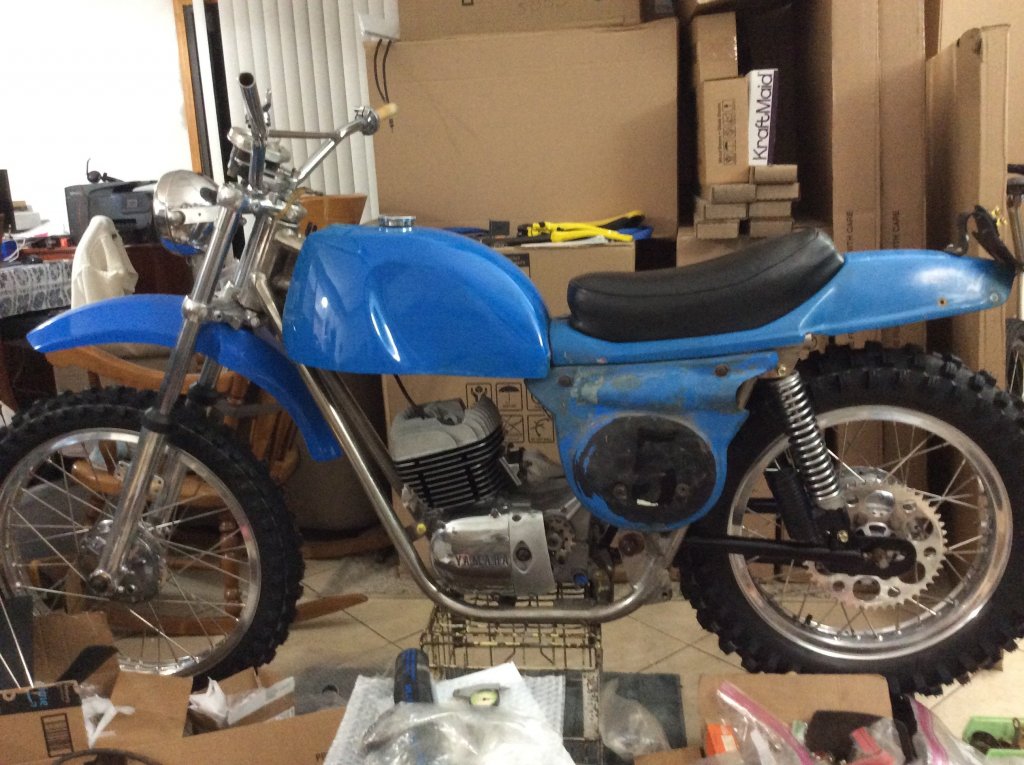
Rickman Yamaha with RT2 360cc installed when built new in 1971. Getting there but more to go until finished.
-
This forward and up hole does work well. From experience doing this mod, you should use a low output heat gun or hair drier to warm the protective sheath over the wires as you feed them through this hole, and as you route them when installing the stator. Heat will soften but not melt the sheath if done with low heat and allow the wire harness to easily follow its new route and placement. as the wires are routed up the frames right side down tube, be aware to keep them away from the exhaust heat, and still remain protected from abrasion. Once everything is assembled, a small amount of sealant will seal up where the wires pass thru the hole. Regarding the bottom hole from original, you can use an original grommet and seal the previous wire openings, or add a small fuel filter to avoid water entry and keep dirt out while letting it breathe.
-
Possibly, take a look at the Sudco companies info or Jets R Us. The items you are asking about, I would suspect are still available in tne aftermarket
-
I currently own and ride a 2005 SY250R that Mike imported and sold back then. It has had a few owners before me. In the gearbox, I have been running Shell Rotella T4 15w40, but have on the shelf and been considering switching to Maxima MTL 80wt but have not swapped yet. As for brake and clutch, I run Pentisone DOT4. The clutch slave I altered by removing the snap ring, as it tends to wear on the slave piston body. I also installed the jamb nut to the inside. Many people mention the arms are soft and fail, or have issues with the slave cylinders, on mine I simply ensured there was no binding or limited stroke to the lave cylinder. During a Ryan Young school, Ryan cautioned me about the brake pads. I will ask him again for details when the brakes need replacing, but he indicated something about the pads touching each other and not clamping the disc, even though pad material was left. Need more details to accurately explain. I have tried the oem white progressive spring, the oem yellow spring and both seemed to allow the rear end to squat more than I cared for. I have made adapters and installed an aftermarket spring the works well with minimal preload. Check the engine mount bolts for tightness. The choke on my bike has been a problematic bother. My latest efforts hopefully resolved the issue of the rubbed disc not sealing well. I made some other changes to improve the reliability of the bike, mainly the fabrication of an air filter guard to prevent water from coming down the airbox under the fender and filling the inside of the airbox. I also did away with the oem rear fender that so far for me was impossible to find at a reasonable price. Mike has been great to talk with and is knowledgeable on these machines. My most recent call to him discussed the ignition timing. I did dial back the timing on my SY to midway between the Yamaha spec and Scorpas setup. I found the Scorpa setup gave random flameouts, that felt like I either had to increase idle speed or take a small amount of timing out. The ADV website allows more photos so if you check there, I posted a topic about the SY and some changes I made. For me, the bike is far more capable than I am. Last event, I asked one of the local higher class riders to try it and give an opinion on the setup. His dad owned SY250s years ago. Within minutes, my SY was doing fine on stuff I would likely never attempt. I installed Dunlop tires.
-
After accomplishing repairs for leaks and soft spots on my friends MAR tank, it was block sanded to remove any sharp edges, not sanded perfectly true. Leak checked again, pressurized with a bicycle hand pump and submerged. As a person that repairs composite aircraft parts, using that knowledge and experience, we had the paint shop apply these coats. Epoxy primer onto the bare fibreglass surface. A fill primer was applied next. This is a two part high build spray on product that sands easily. Once the final sanding and fill prime layers were accomplished, top coat layers of paint then stripes were applied. The paint shop stepped up and then applied clear over the entire tank outer surfaces. The frame side panels were done the same way. As for not painting myself, couple reasons, one, I do not like to and two is I am not a great painter. Sometimes, claiming to have restored or built a bike, you are allowed some poetic license for specialty services such as welding, powdercoating, paint, crank rebuilds and maybe a few more. Kind of falls under the know your limits rule.
-
-
Very doubtful the seat is MK2, but willing to listen to why it could be. That seat came off my own MAR that is built in October 1972. Could the original owner have replaced his original seat, possibly. I got my MAR from the original owner and a longtime friend. He made no mention of changing it.
-
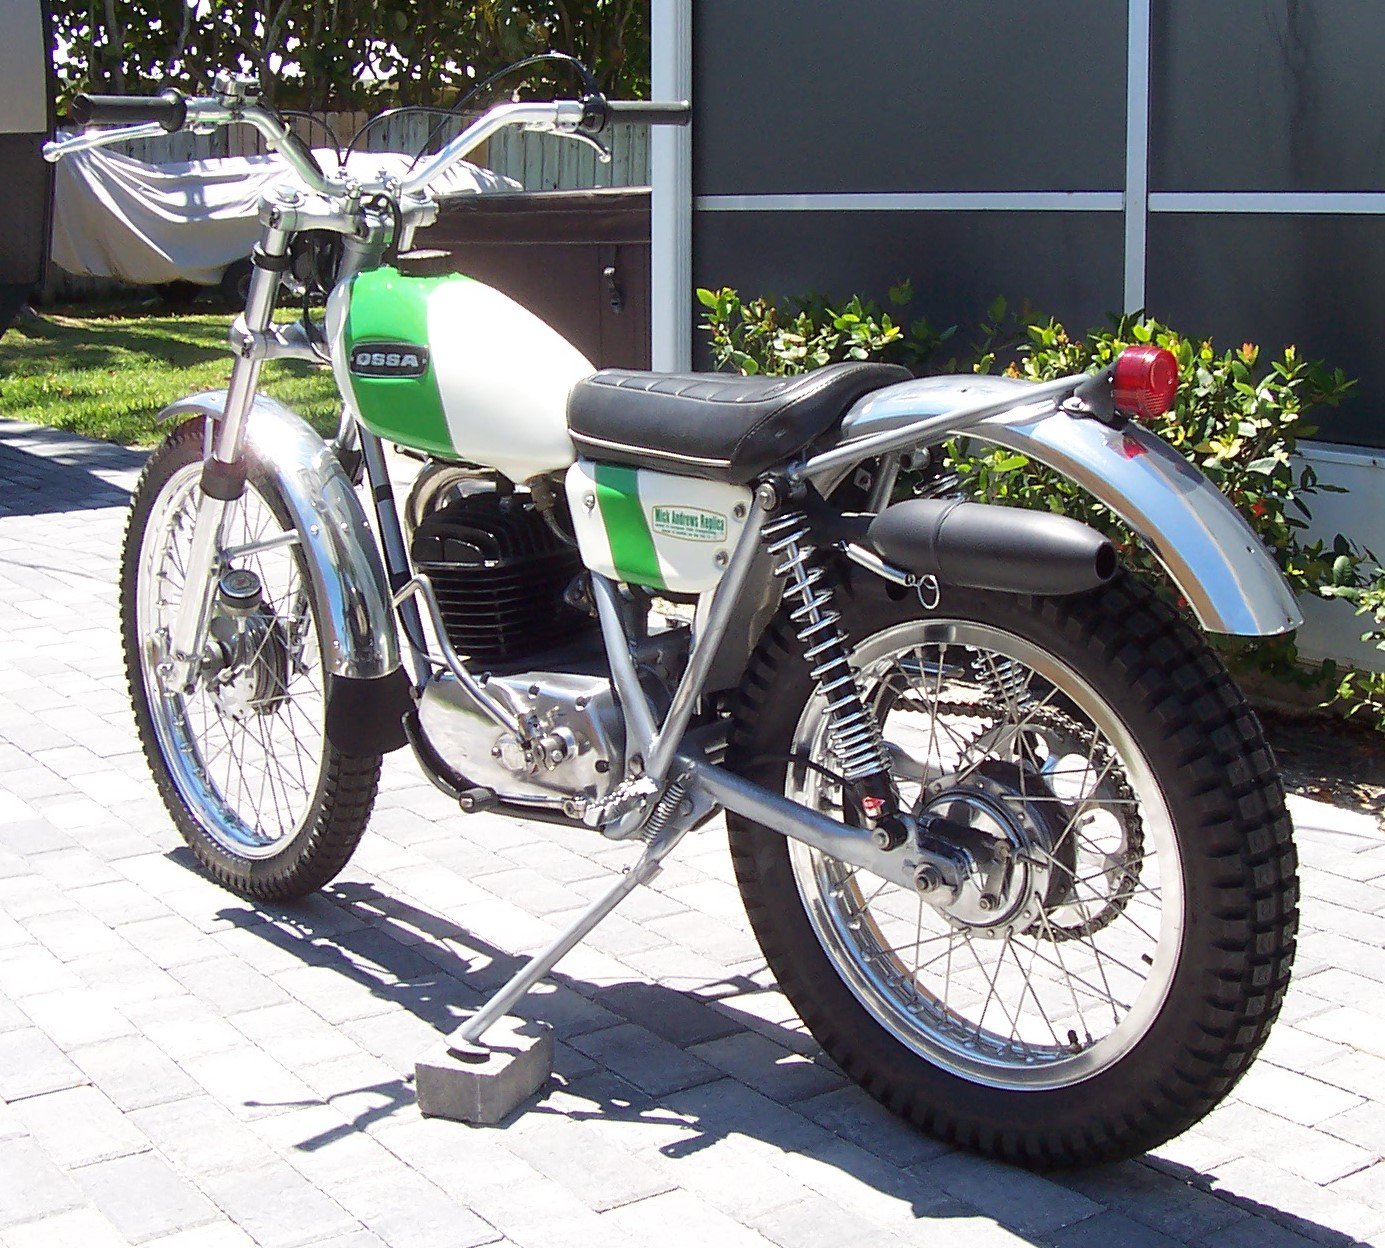
The MAR in the photo is very original, took a bit of effort to get to what it is.
-
Alex Snoop asnoop13@optonline.net He is in the USA and a great source of OSSA parts and services, plus info, like paint codes. I would ask my buddy that owns the MAR in the photo, but he is a bit too busy currently.
-
Alex Snoop recently gave the color codes to my riding buddy when we were having his fuel tank and side panels sprayed. Might contact him for the info. As a caution, the fuel tank work was a serious pain. As many have posted, over time the fuel, especially ethanol added fuel will attack the resin system used to build the fuel tank. Hopefully you have the aluminum tank. If not, expect a bunch of work to remove the soft area and leaks on the fibreglass tank. For my buddies MAR, essentially, the tank was pressurized with a bicycle tire pump while submerged. All the weeps and leak areas were noted. For his, due to soft areas from knee impacts, the entire outer exterior was abraded, then repaired with Vinylester resin and fibreglass. Noted leaks on the underside were repaired also. The tank was block sanded to a reasonably close profile of original, then leak checked again. Once all leaks were addressed, and the tank was structurally sound, I had a friend accomplish the finish work. This included a first layer of epoxy primer over the entire tank and side panel surface to help seal the finish top coats from the fibreglass and possible issues that lift many paints. Next, they used a skim layer of body filler to obtain the correct shape and profile smoothness. Final work involved a correct fill primer for the paint used. The fill primer was utilized to remove any pinholes in the body filler. The the final top coats were applied. Certainly was a lot of work.I do not know the weight, but do know they are heavy...Yes sir, mine will stick at the beginning of the next ride. I find it best to roll the bike, engine running, in neutral, as it is rolling, pop it i to gear. Then ride a bit until it releases. Normally pretty quick. On a side note, my buddies MAR, I just rebuilt his motor and gearbox. He installed new plates and trials clutch springs, plus polished the clutch release shaft. He already had a MSR lever. Have not ridden it yet, but suffice to say his clutch pull effort is as light, maybe even lighter than his 17 Sherco.